I’ve just returned from a brilliant birthday weekend in the Lake District with my dad and sister.
Every year, we try to take a little birthday camping trip because my dad’s birthday is on the 4th, and mine is on the 5th, so it’s nice to make a weekend of the celebrations.
We booked three spaces on the Ravenglass Camping and Caravanning Club site. I’ve never stayed at this one before, but my dad had spotted it previously and said he’d really like to try it out.
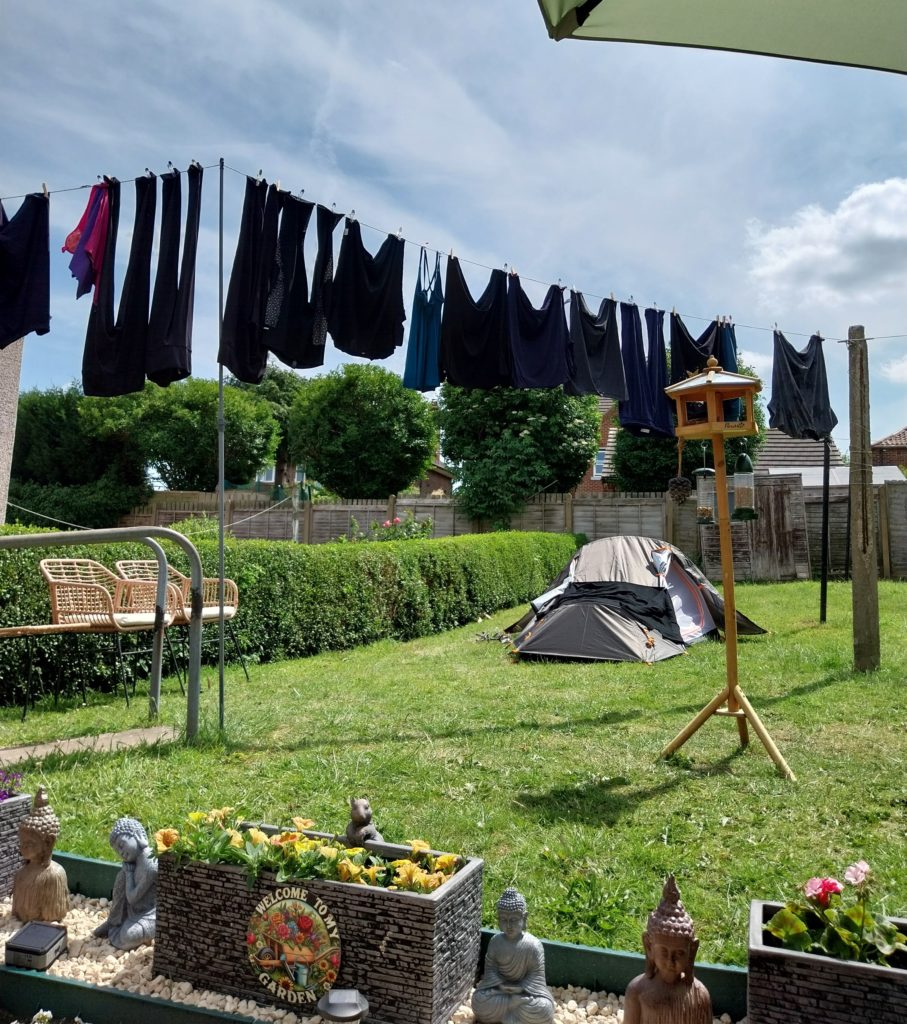
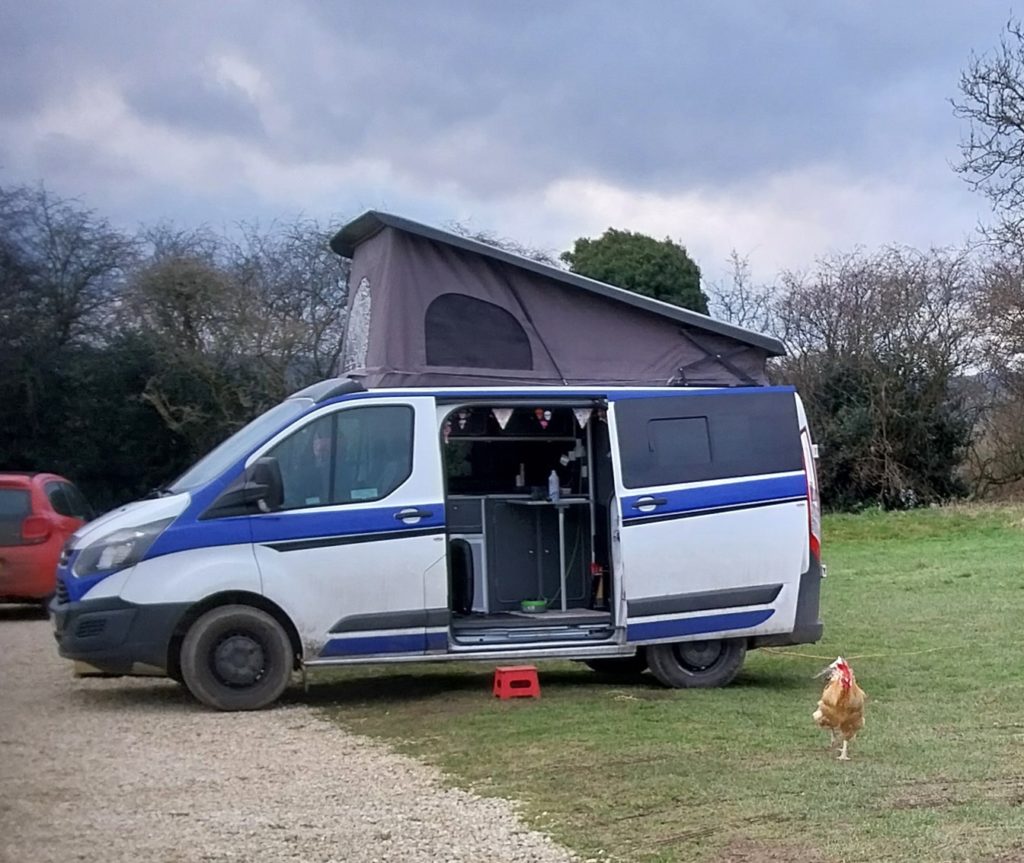
My dad travelled in his campervan, ‘The Whale’, I travelled in Noah, and my sister brought her tiny walking tent.
The wardens on the site were kind enough to place my sister’s little tent on the grass next to our hardstanding pitches, as otherwise, she would have been in another field entirely.
This is quite common in campsites where both tents and motorhomes are accommodated – it’s often difficult to get pitches near each other if one of you has a tent and the other has a motorhome. But on this occasion, the staff managed to find a way for us, which was very kind of them.
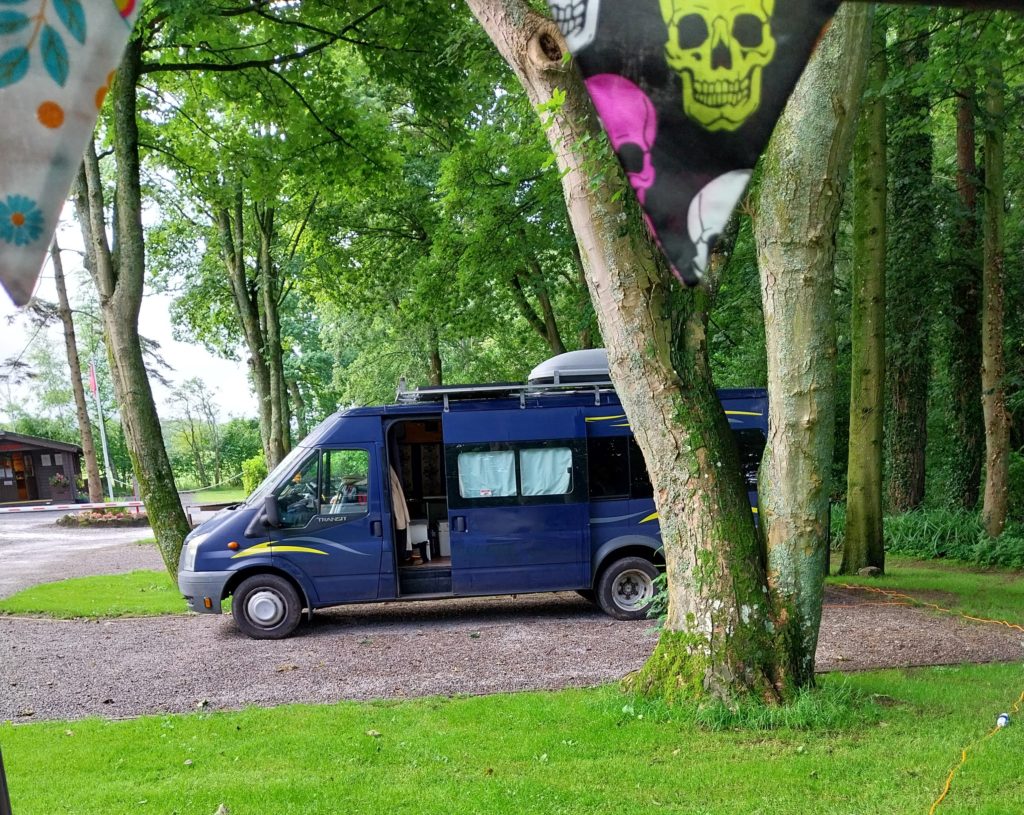
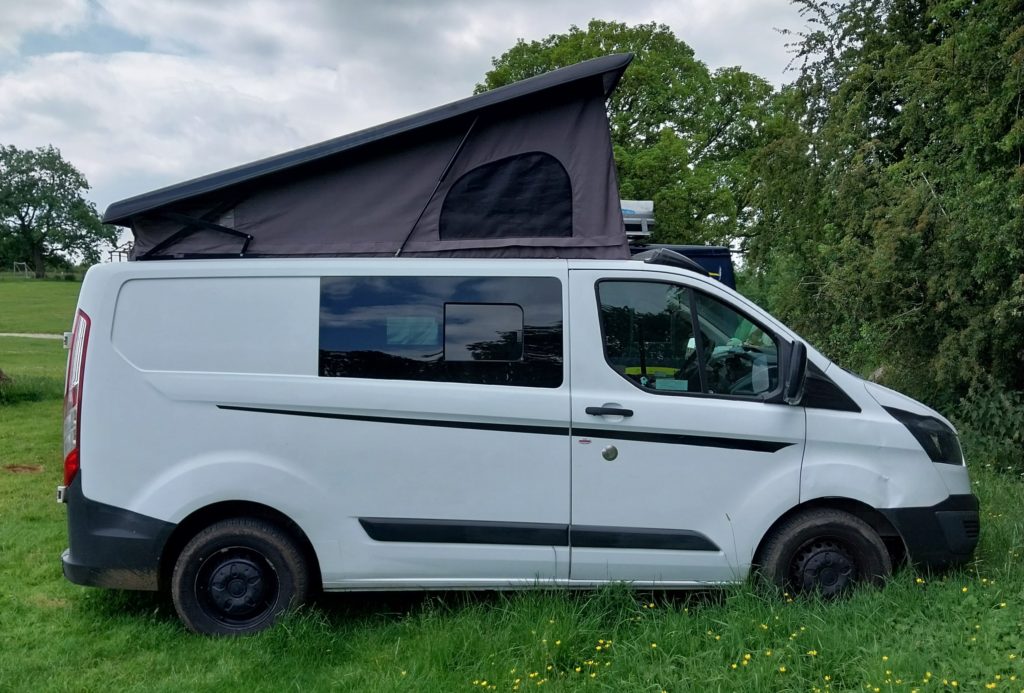
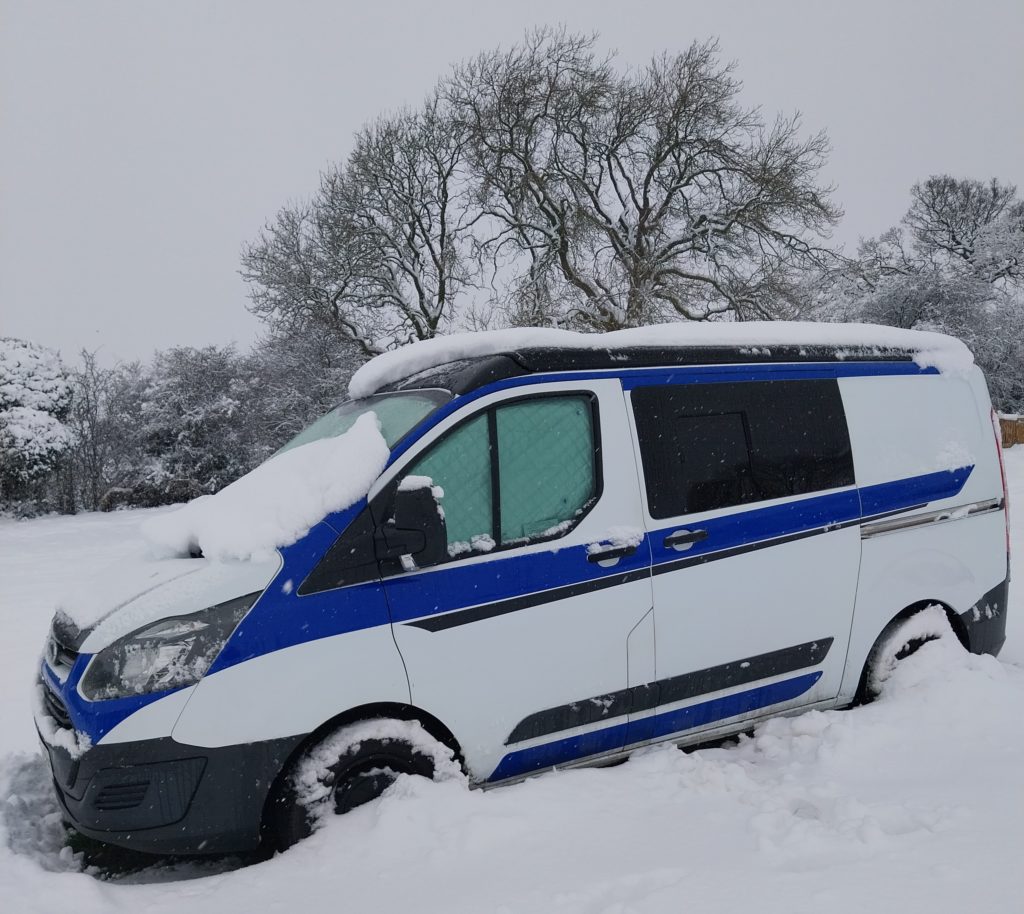
A view of The Whale from my camping pitch
The facilities on this site were much better than those on the Scarborough Camping and Caravanning Club site we stayed on during our three-day walk. The showers were good and hot, and the toilet block was immaculate and warm. I can only presume that Scarbrough is on the wait list for a facilities upgrade. We were very pleasantly surprised here.
The hard standings were pleasant, neat, and mostly level. I did notice a couple of motorhomes using their levelling blocks, but I’ve never felt the need for them on hardstanding pitches, as they’re level enough that it doesn’t make a noticeable difference once you’re inside the van.
While we set up our homes for the weekend, a little robin hopped around us, looking sideways up at us expectantly. He’d obviously learned that campers mean food. He remained our friend throughout the weekend, even venturing inside The Wale at one point to pick up a crumb from in front of the cooker.
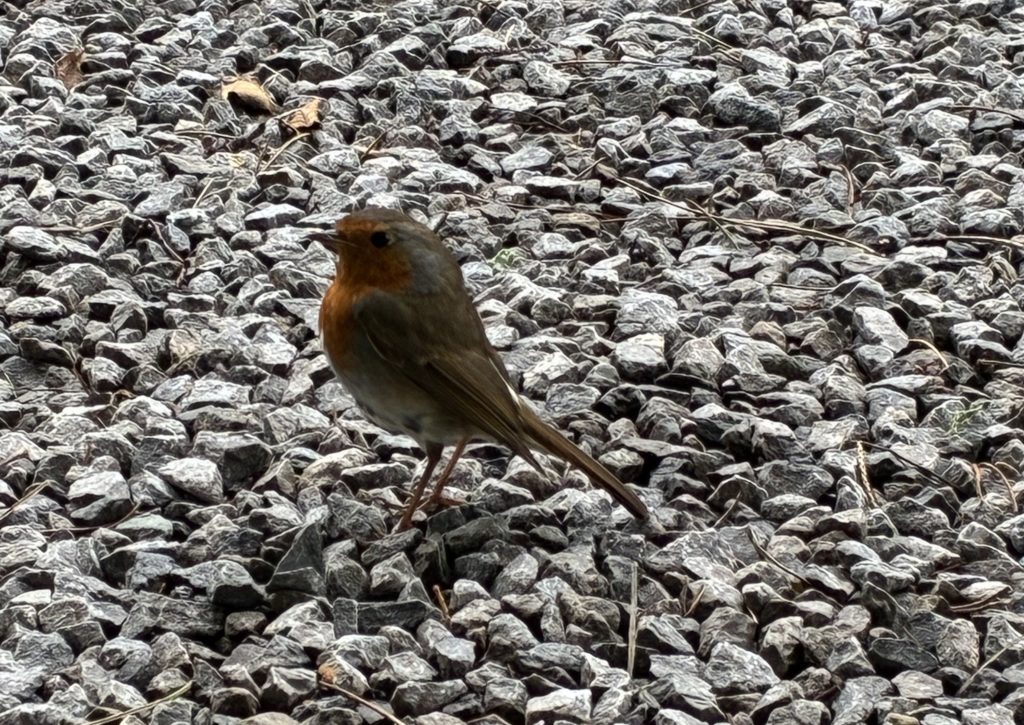
Our little robin friend.
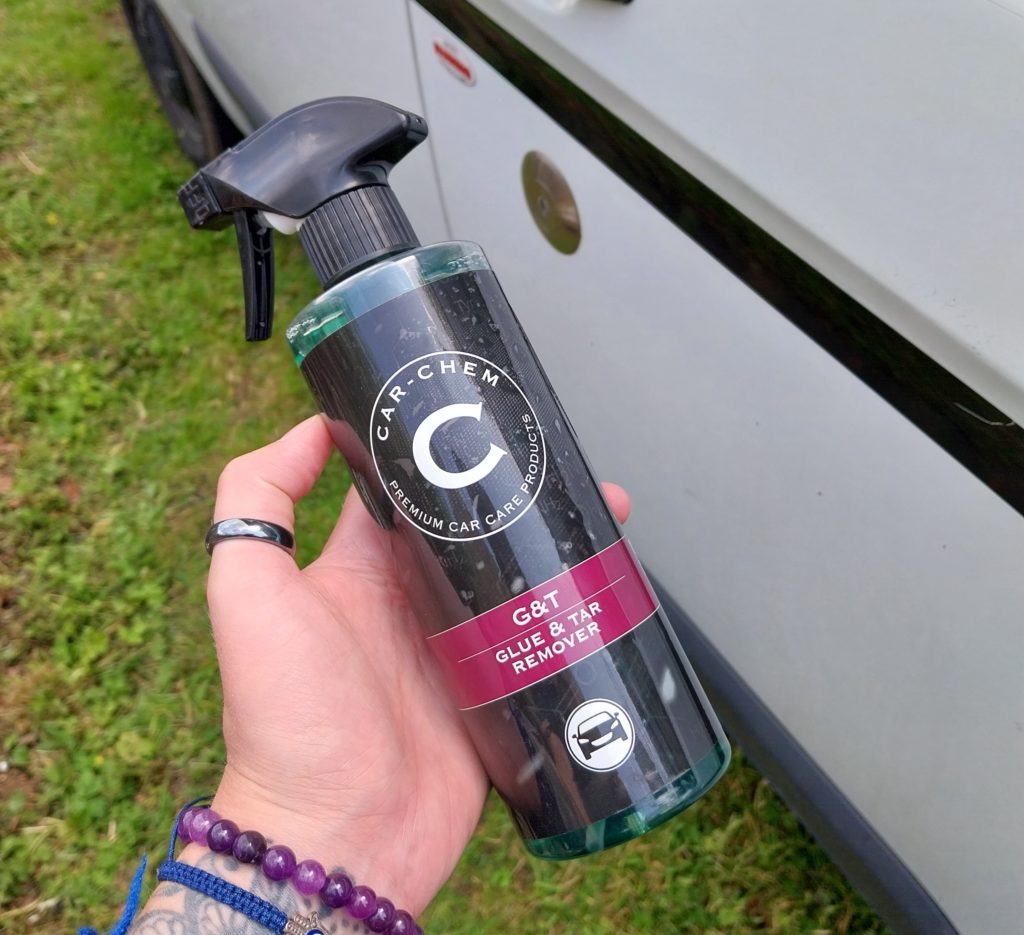
Unfortunately, we also had some less-welcome burb friends. The pitches we were placed on were under trees, and a family of crows was living right above us. By the end of the first day, my van and my sister’s tent were covered in bird poo, so perhaps we weren’t as lucky as we’d first thought with the pitches!
We were the only ones struggling with this, though. Looking around, most of the other pitches were under trees, too, but none of the vans seemed to be fairing as badly as my van and Kim’s tent with the droppings. Typical.
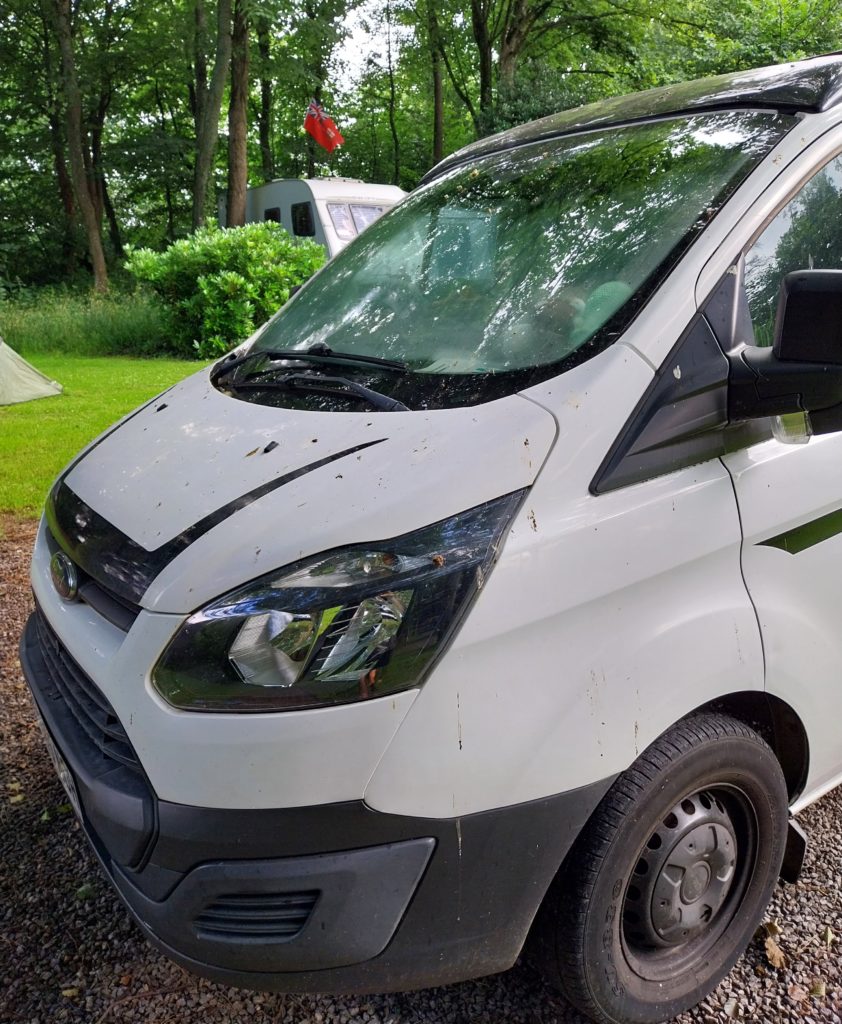
Poor Noah needed a good wash by the end of the weekend.
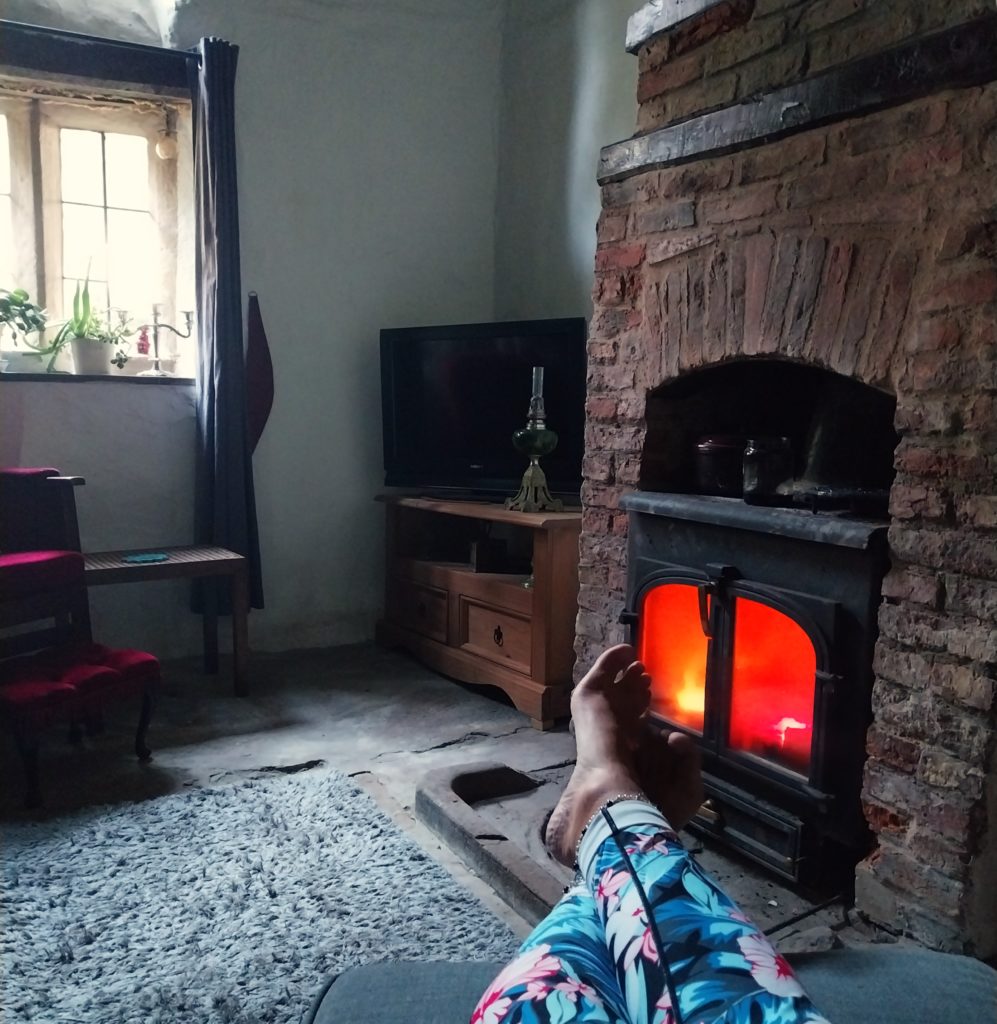
The weather decided to rain for most of the time we were there. It is the Lakes, after all. With the added tree cover, there was very little solar power to be harvested, so I was glad I’d booked Electric Hook Up.
I’ve been getting by without EHU since I bought my new battery in May, but I’d booked this site a month or so before that and then promptly forgotten about it. It was a good job because my battery was already running at half capacity after five days of rubbish Ripon weather. It enjoyed gauging itself on the EHU until it was nice and full again. I was happy I’d spent the extra £45 on a plug-in Victron charger when I upgraded the battery.
As we’d arrived on Friday afternoon, our first task after setting up camp was to ‘hunt and gather’. We chose the local Tesco for this and filled our trolley with wine, biscuits, and ingredients for breakfast sandwiches and stir fry for Saturday night.
Feeling accomplished, we headed to the nearby Brown Cow Inn for a well-earned meal.
My dad and I ordered the chicken burgers, which turned out to be an entire chicken breast in a panini bun, with home-cut chips and giant onion rings.
My sister ordered the gammon steak and was equally impressed with her serving, which consisted of two thick gammon pieces accompanied by home-cut chips.
We were starving, so the huge portion sizes were very welcome!
If you’re ever in the area, I highly recommend this Inn, not only for the food but for the warm and friendly bartenders who made us feel so welcome. A true local gem.
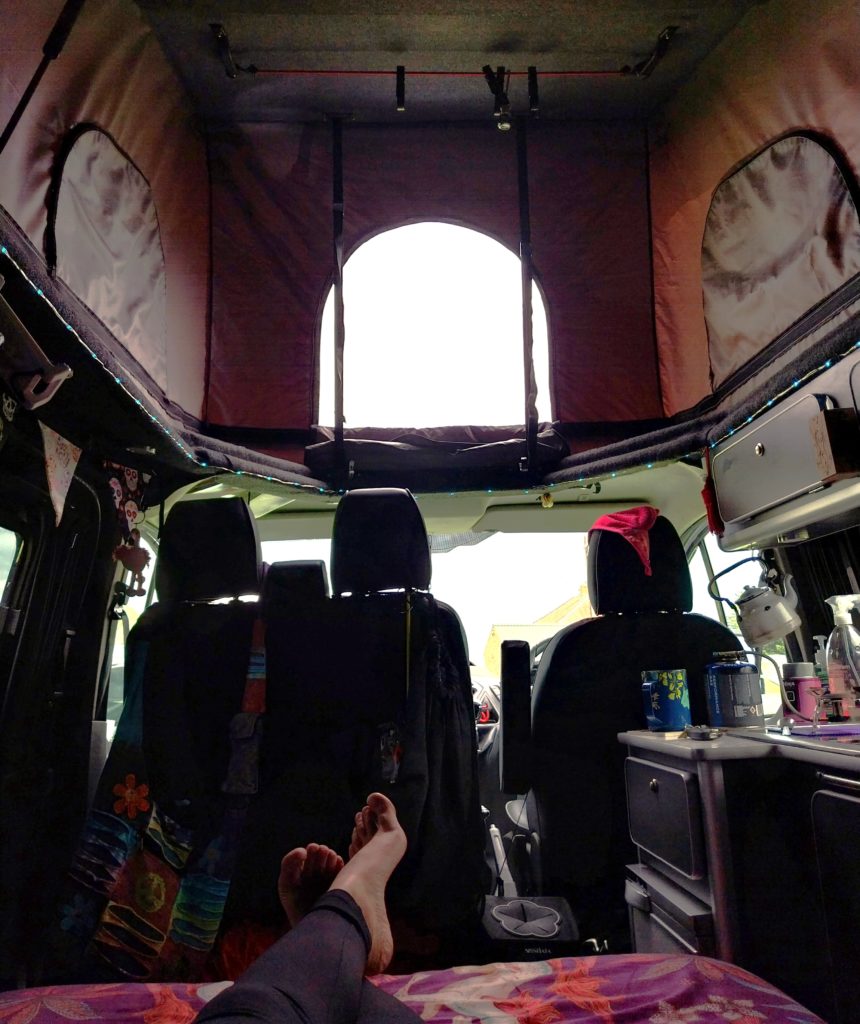
We rolled home with full bellies to crack open a bottle of wine and relax inside The Wale.
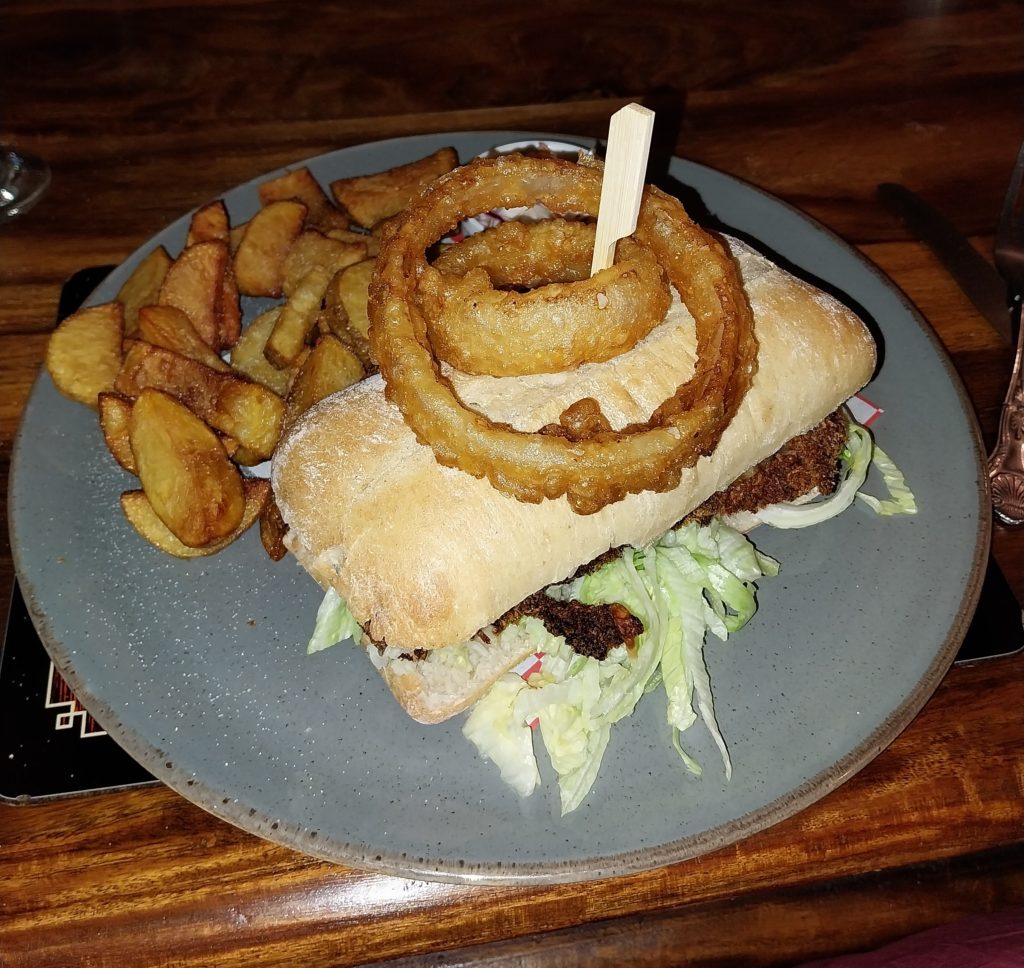
My delicious Chicken ‘Burger’ at the Brown Cow Inn
Ravenglass Campsite is right next to Ravenglass & Eskdale Steam Railway, which is celebrating its 150th anniversary this year.
We decided to book tickets for the Saturday morning train. The trip seems to be set up more for the journey than the destination, as, from what we could see on the map, there wasn’t much to do in Dalegarth, where the line terminated.
There were a few other stops along the way, but these were ‘on request’ stops, and there was no guarantee that the return train would have space for us. We decided to play it safe and book the main ride there and back again.
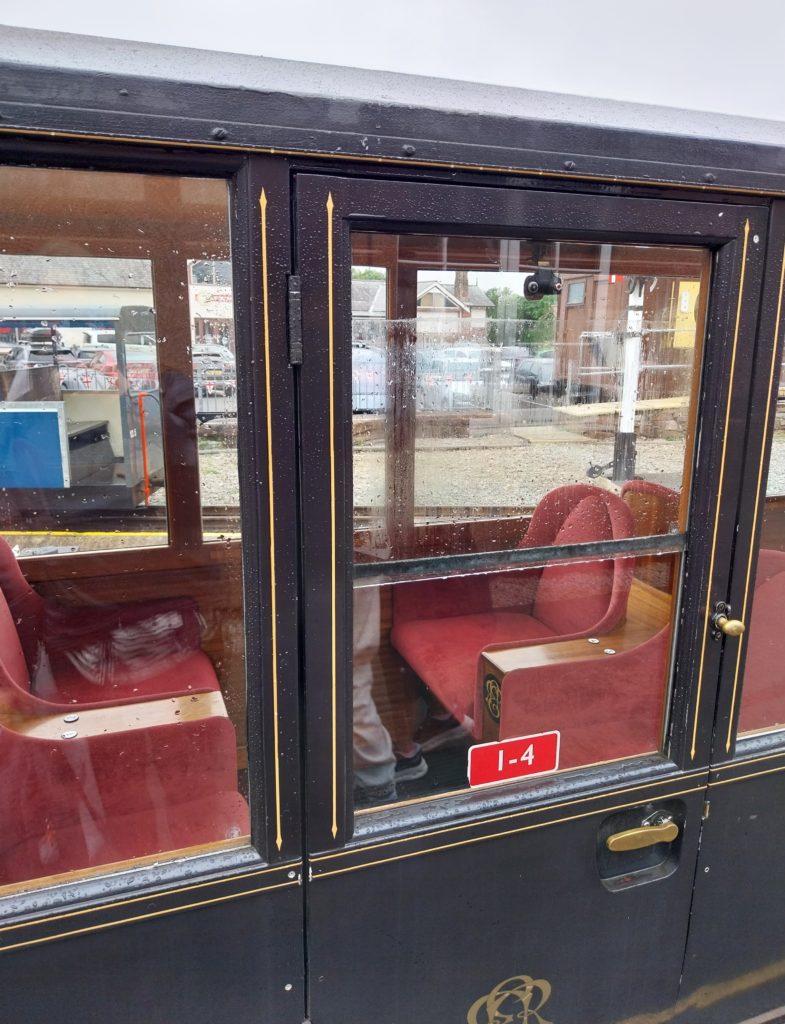
There were different seating options available, including an open-top carriage, which would have been lovely had the weather been better. We opted for first class on the way there and the Pullman carriage on the way back.
The train was much smaller than the other steam trains I’ve travelled on, and the carriages were also in miniature size, which was very cute.
The first-class seats were in our own little section, with a sliding door that we were allowed to keep open, even when we were on the move. Exciting!
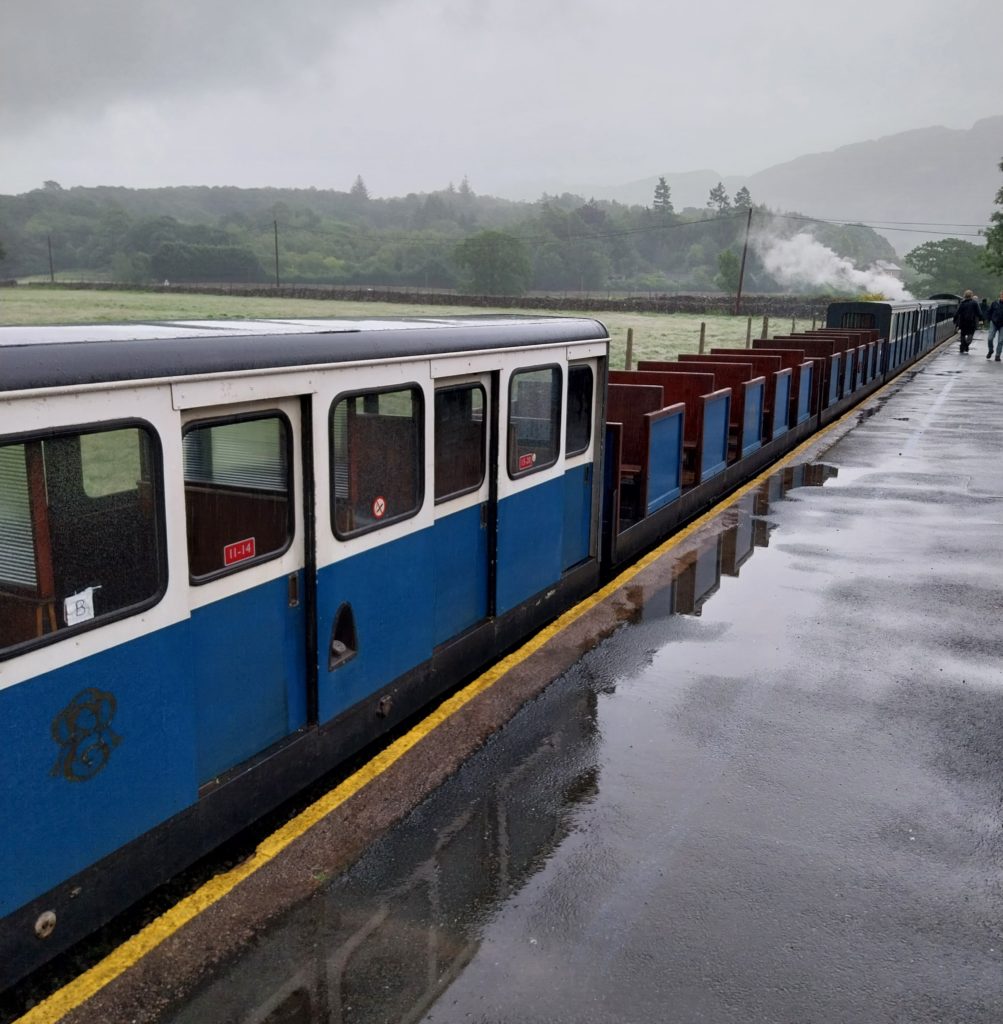
Our first class coach on the outward journey
The journey was just under 40 minutes long, and we did make a couple of stops along the way to allow passengers to disembark. We passed rolling hills, mossy woodland, craggy cliffs and countless sheep. It’s a wonderful part of the country for a steam train ride.
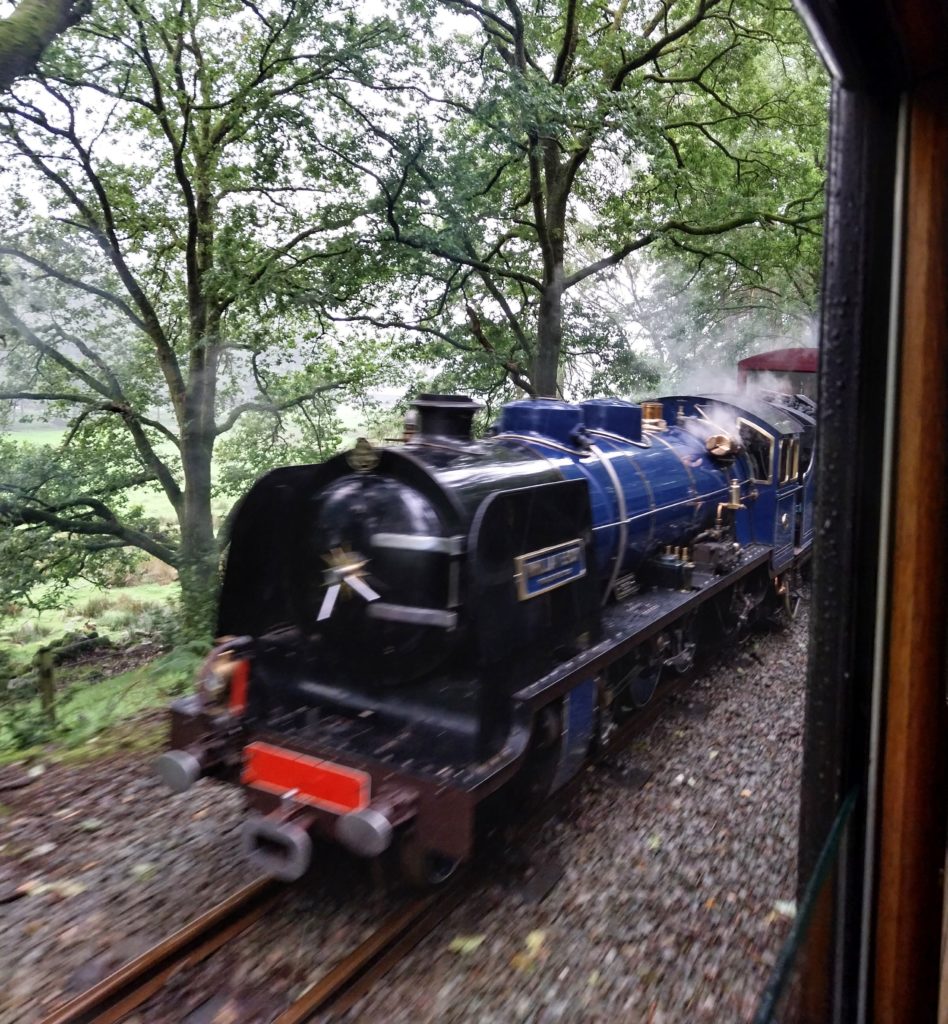
Fast-action view of another little train passing us along the way!
At the end of the line, there was a little gift shop and cafe. My sister and I bought matching Guinea Pig bamboo socks, and we also purchased a nice hot chocolate with all the trimmings to enjoy on the return journey.
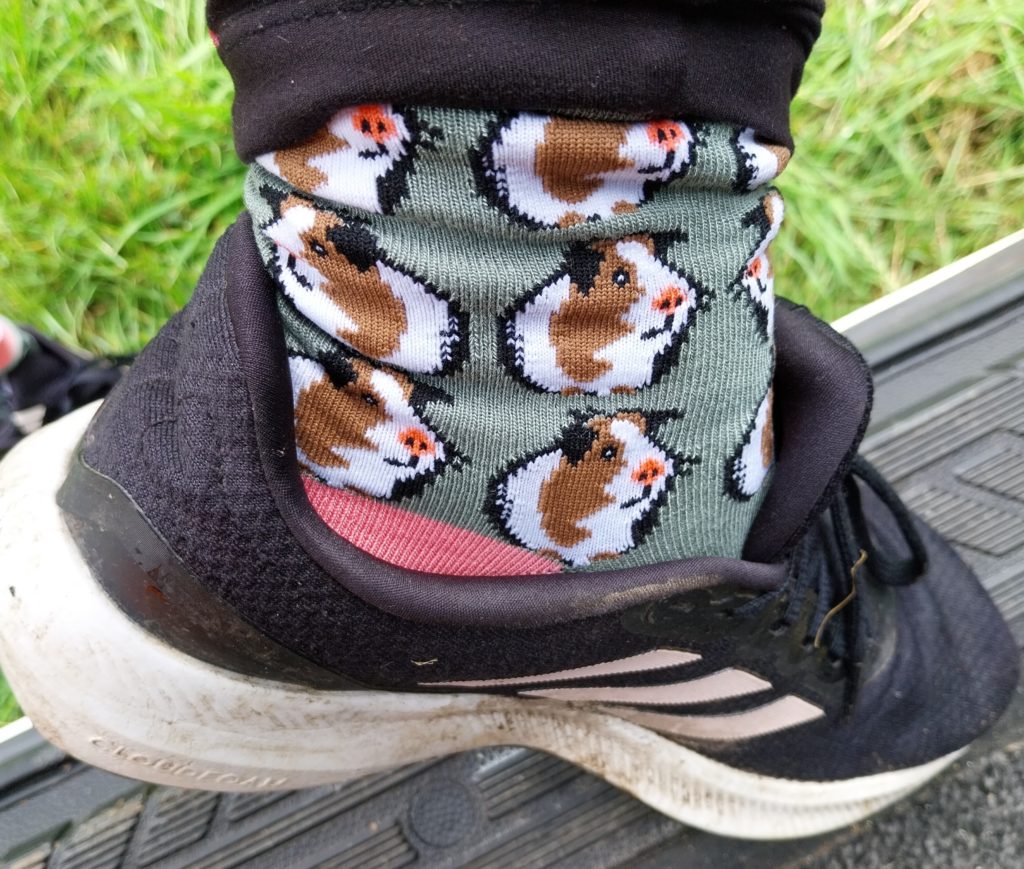
Best. Sox. Ever.
The Pullman coach on the return train was much more spacious, featuring rose velvet seats and large glass windows that allowed us to see much more of the green hills as we travelled back along the track.
Our Pullman coach on the return journey
There was mild comedy when the train had to stop because of sheep on the line, who refused to be herded back into their field and instead ran up and down the length of the train in defiance. We also stopped once for a poor teddy who fell out of a carriage window. He was rescued promptly and suffered no lasting harm from his ordeal, but I imagine his owner will be keeping a closer eye on him in the future.
Since we’d booked an early journey, we arrived back in Ravenglass at lunchtime, with plenty of time left over for more exploring.
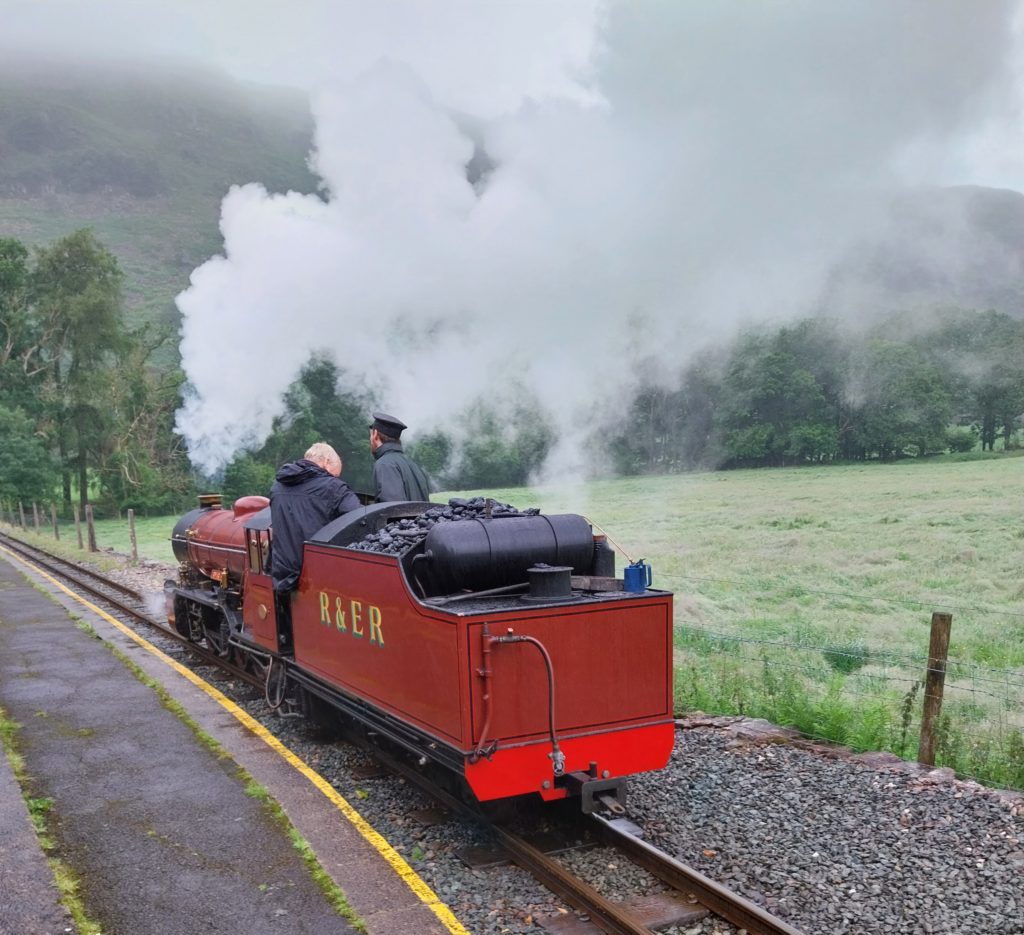
Our train chugging off into the distance after dropping us off at the station.
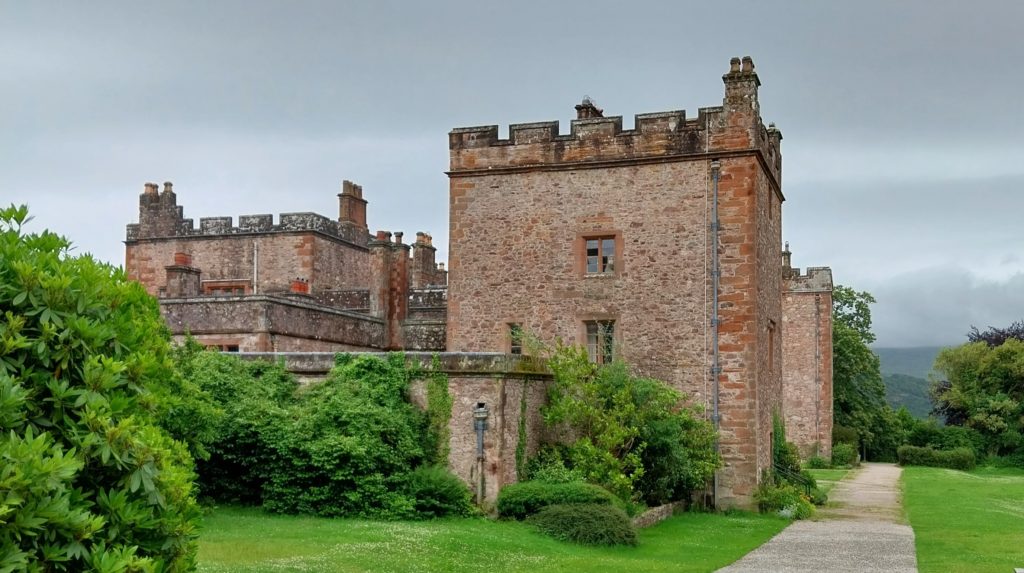
Muncaster Castle was only a short walk away, and we decided to head up for a look around.
On the way, we found a box selling fresh farm eggs. When we opened the lid, we saw one last box of giant duck eggs. We purchased them immediately, nestling them safely at the bottom of my rucksack for later. I do love a tasty duck egg.
Initially, we were somewhat shocked by the castle admission price. £24 per adult seemed a little steep, but once inside, we were pleasantly surprised, and by the time we left, we had to admit that, all things considered, it was worth the money.
We arrived at the castle just before 2pm and hurried to the flying field to watch a bird of prey show. The birds swooped in big arcs around the field, diving for the prey offered by their handlers and sometimes swooping so close past our heads that we felt the breeze.
The handler did a fantastic job not only showcasing the birds’ abilities but also educating the crowd. You could tell that she really enjoyed her work and had a real bond with the birds. She was so enthusiastic, and she spoke very gently to the birds, who seemed to be enjoying their role in the show.
I’m usually not a fan of live bird shows. The ones I’ve been to in the past have mainly consisted of a poor, chained bird being walked around the crowd, petted by a thousand hands and looking very sad and bored with the whole experience.
This show was completely different. What a joy to see the birds flying free, enjoying their natural skills.
There was also a lady managing the crowd, ensuring that everyone remained seated and nobody got too close to the birds, who were absolutely not for petting. It was a very refreshing experience.
My favourite was Mouse, who is a vulture. We were told that many people dislike vultures and they have a bad reputation, but they play a very important role in some parts of the world, cleaning up dead things and thus preventing disease.
Mouse was lovely and very well-behaved. At the end of the show, he and three of his vulture companions were allowed to fly around together, catching strips of meat mid-flight.
They were very sweet and comical when the show ended, and they waddled off behind one of the handlers in much the same way as baby ducklings follow their mother.
Unfortunately I was so transfixed by the bird show that I forgot to take any pictures, so you’ll just have to use your imagination.
Next stop was the Weapons Hall, which we expected to be a museum of various types of armour. Instead, we found an activity centre where we were allowed to try our hand at shooting a bow and arrow, as well as a crossbow. This was an unexpected adventure, and my dad and I were both very proud when we managed to shoot the ping-pong balls stuck to the crossbow targets. We didn’t fare so well at the bow and arrow. Those are much harder to aim. We did at least hit the target, though, so we were not terrible at it.
There was also the option of axe throwing, but having seen videos on YouTube of people almost scalping themselves with a rebounding axe, we decided to give that one a miss.
Trying my hand at shooting a bow. They were much harder to aim than the crossbows.
The staff within the activity centre were extremely friendly and very knowledgeable. It was an enjoyable experience, and everything was included in the admission ticket price, so we didn’t have to pay any extra.
Once we’d finished shooting arrows, we hurried over to the castle, which was due to close in 15 minutes. For some reason, the castle closes at 4pm, while the grounds are open until 6.30pm. We’d missed this on the timetable initially, so we had a mad dash around the castle to see as much as we could in the remaining 15 minutes.
The staff at the front were very supportive of our ambitious aim and cheered us on as we zoomed off to stick our heads briefly into each room.
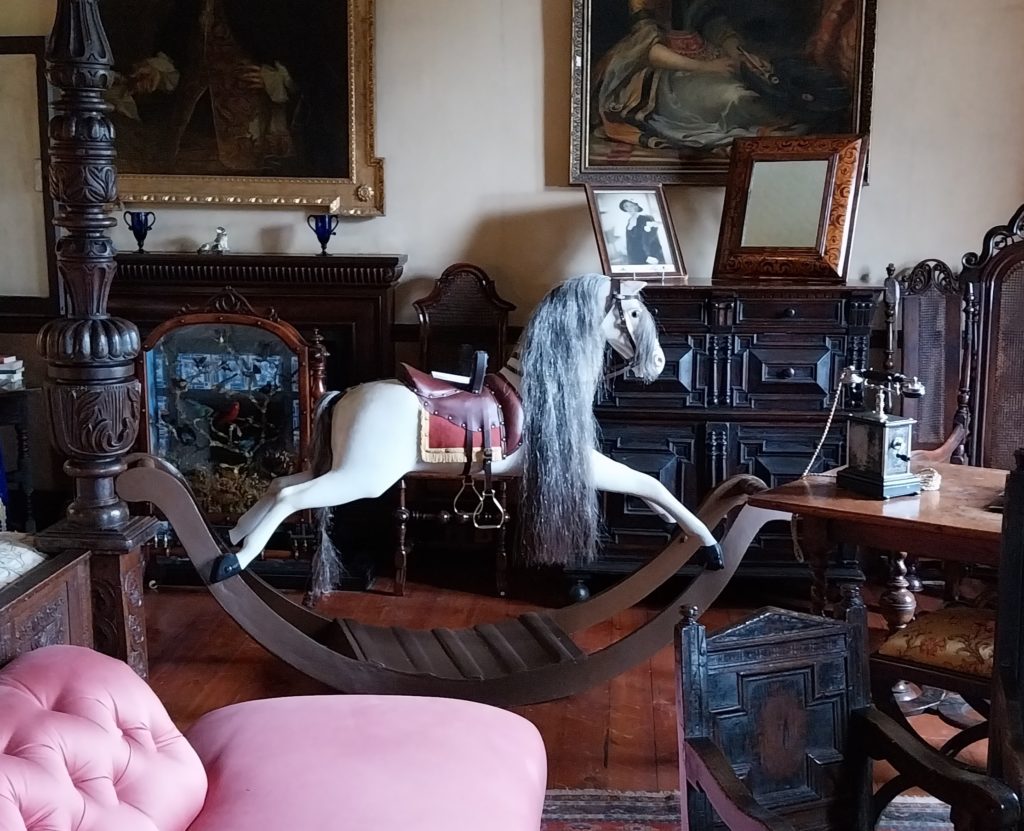
A beautiful old rocking horse in one of the castle bedrooms
The library was beautiful. Wall-to-wall covered with books, featuring a large window, a beautiful old fireplace, and a sitting area. The absolute dream!
The rest of the castle was just as grand, with giant four-poster beds and beautifully carved furniture.
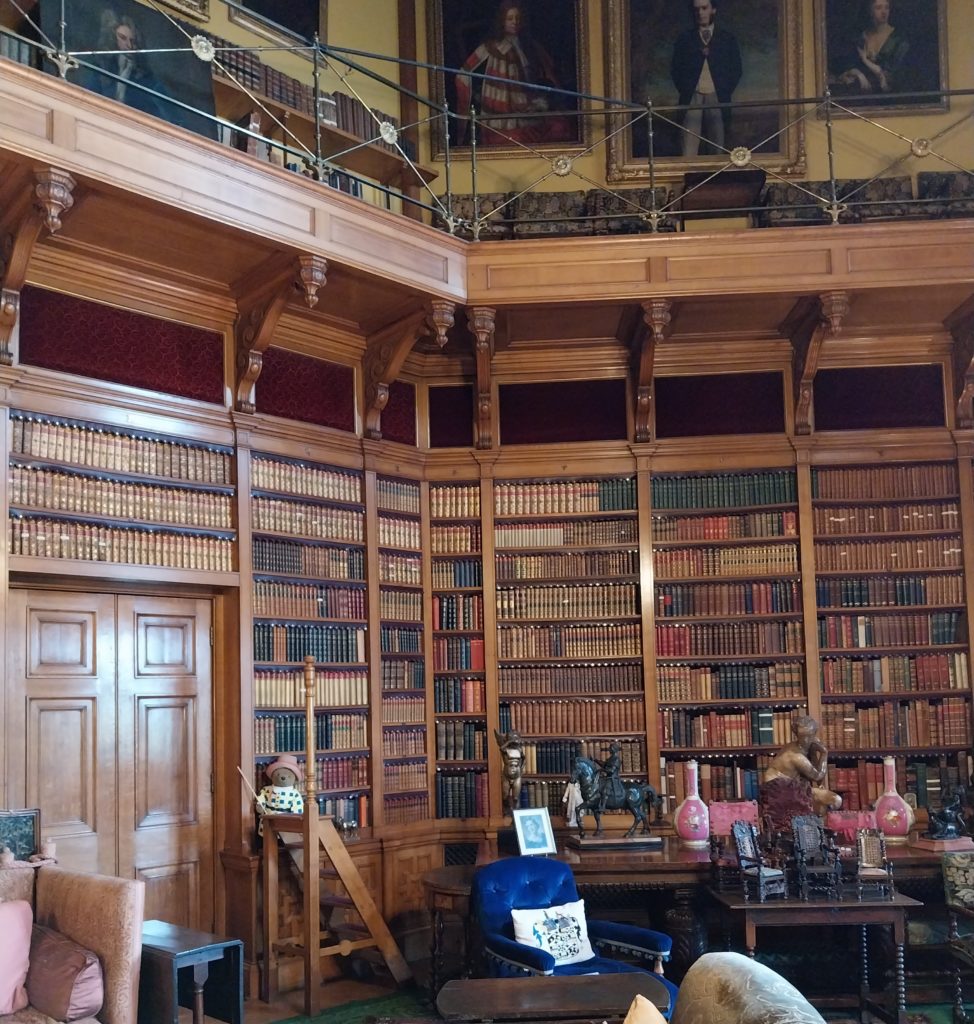
A small section of the bookshelves in the library
However, not all of the rooms were available for viewing. As we walked away from the castle, I looked back to see what appeared to be a large polar bear staring out at me from one of the windows. I didn’t recall seeing a polar bear in any of the rooms we visited.
Can you spot the polar bear?
There are tales of ghostly goings on in the castle, which were confirmed by the staff as we stopped to collect our bags on the way out. One lady told us that a few days before, she’d been closing up and heard a sound like the loose floor tile being stepped on, even though she was the only person there.
Spooky!
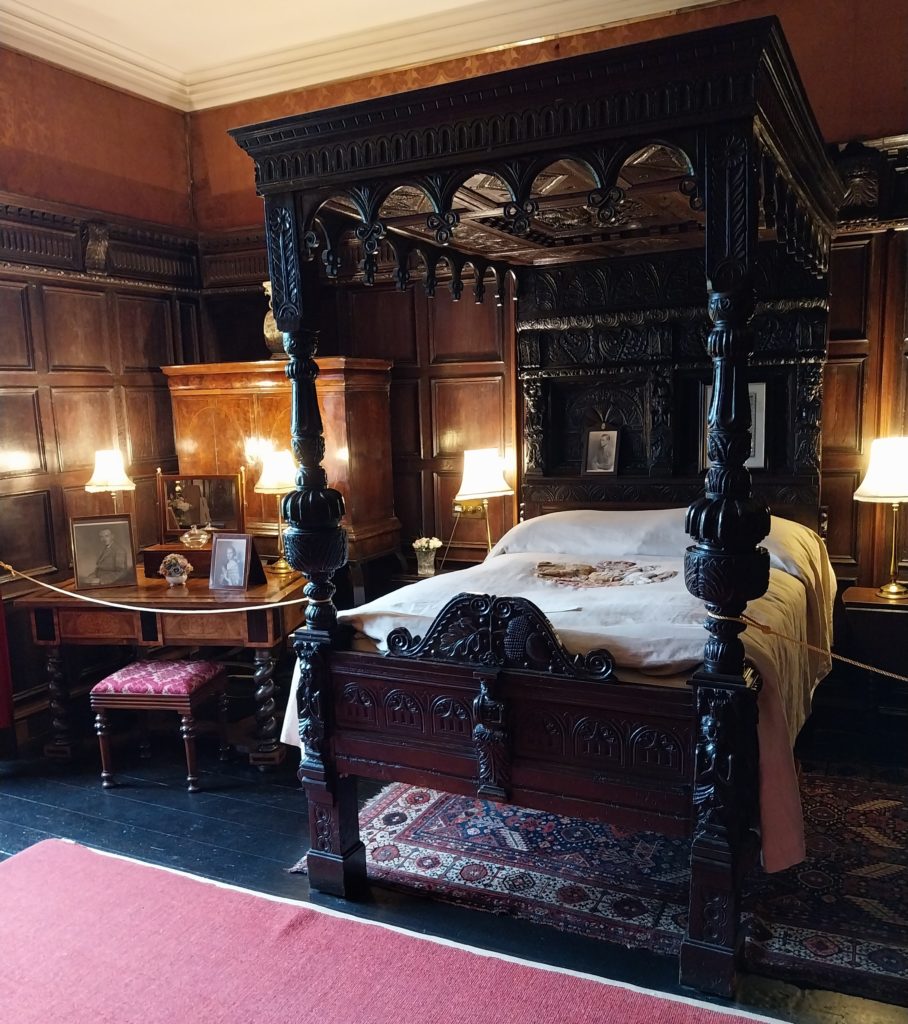
A very grand four poster bed. Imaging sleeping in this every night!
People often ask me if the Witch in the Woods house is haunted, and they’re always disappointed when I tell them I’ve never experienced any spooky goings-on. Perhaps all of her tenants have been happy and never felt the need to stick around and haunt people.

View of the castle from the gardens
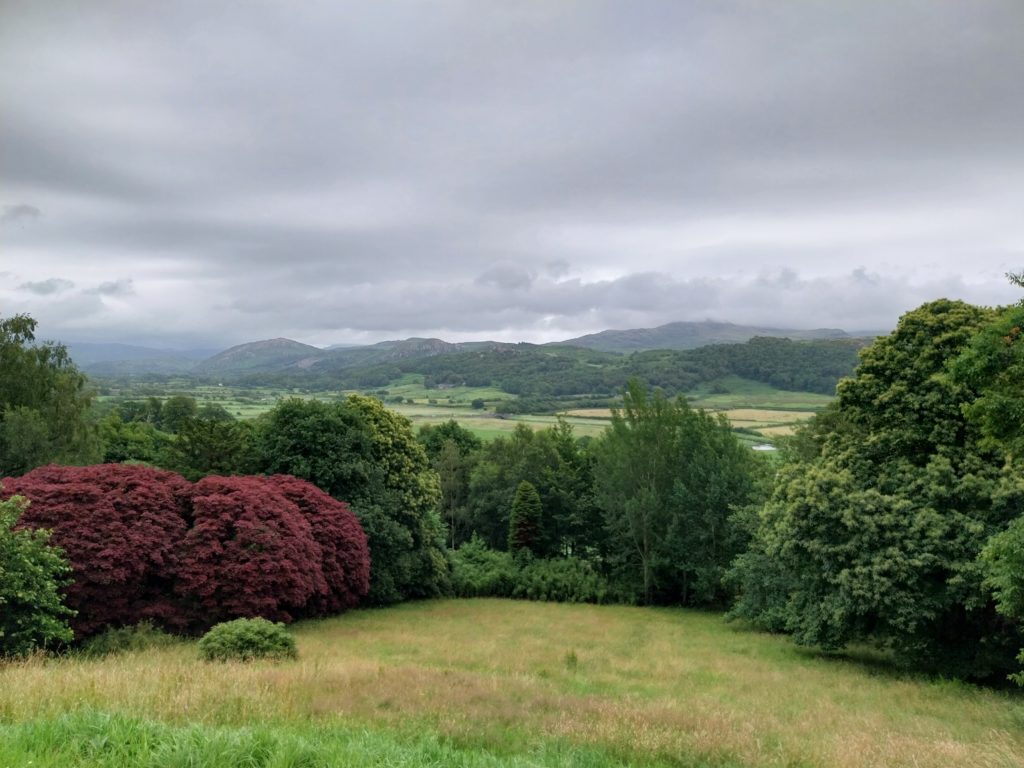
A view of the landscape standing in front of the castle
After our mad dash around the castle, we decided to finish off our day with a walk around the gardens. There were numerous small woodland paths, and at one point, we came across a giant rope bridge suspended among the trees. My sister and I braved a crossing while my dad shook his head and fretted about the possibility of me breaking another limb.
At the end of the rope bridge, we slid down the metal slide to ground level, feeling pleased about our survival, and continued on to the fairy path.
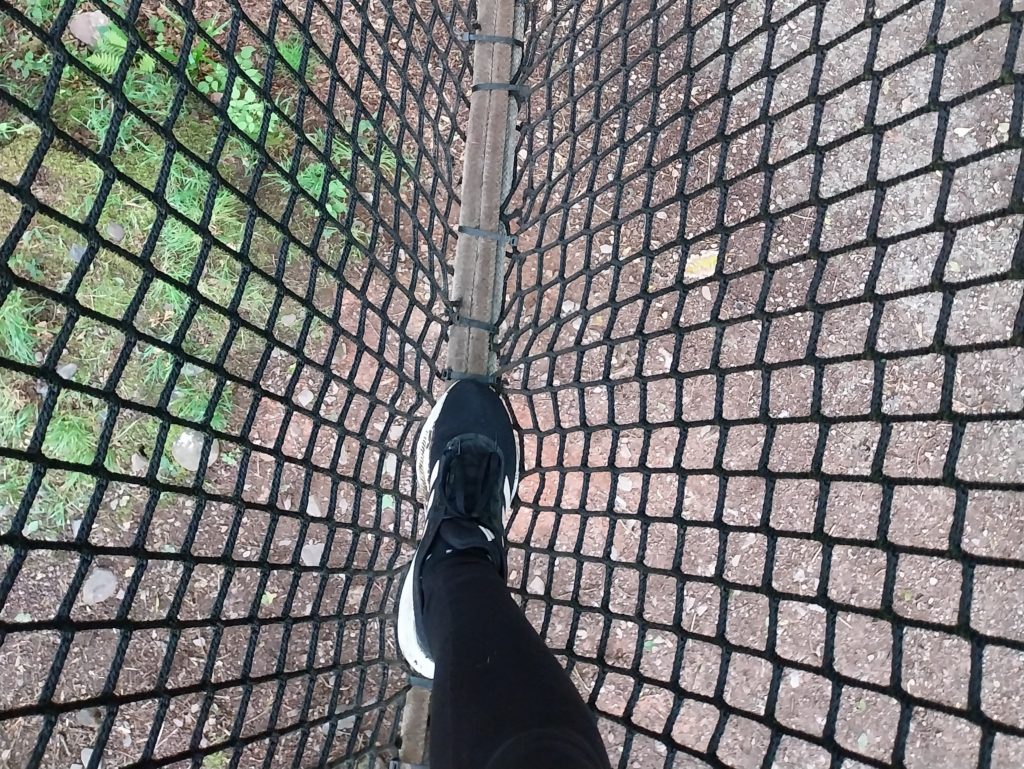
Up on the rope bridge. Scary biscuits.
The fairy path was one of my favourite bits of the garden. There were lots of little fairy houses in the trees along the path and a human-sized fairy house for us to try out ourselves. It was a nice end to the day, and we trudged back to the campsite feeling tired but happy.
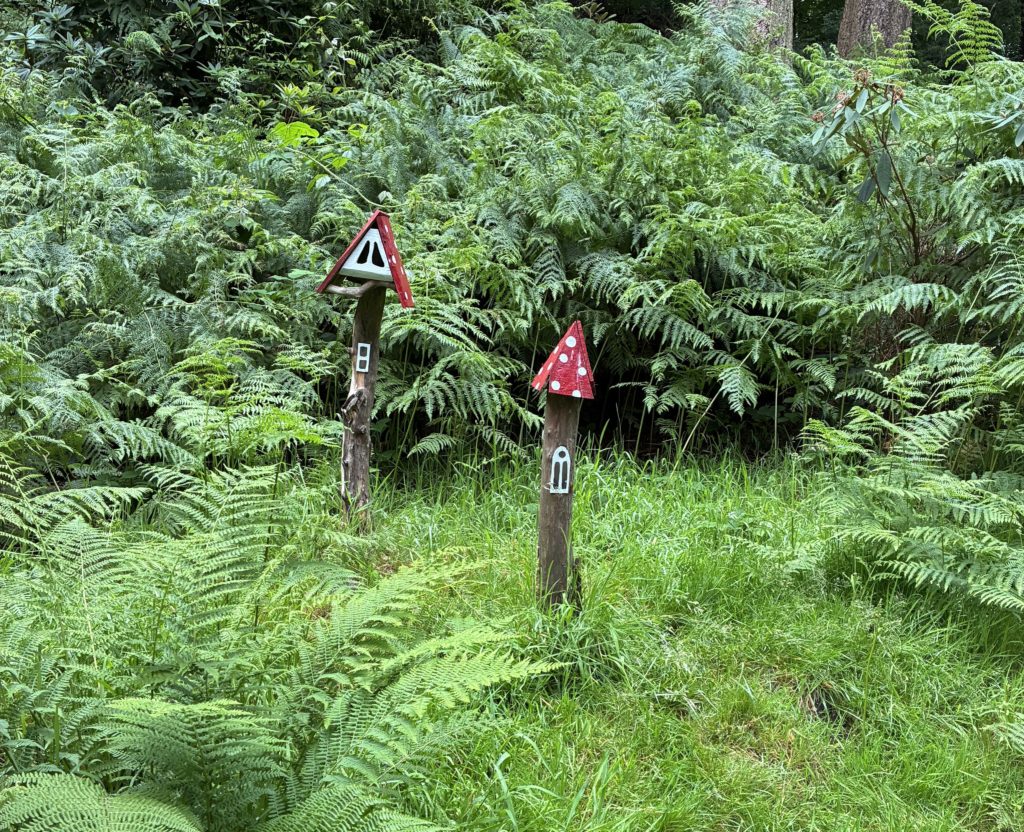
Cute little fairy houses
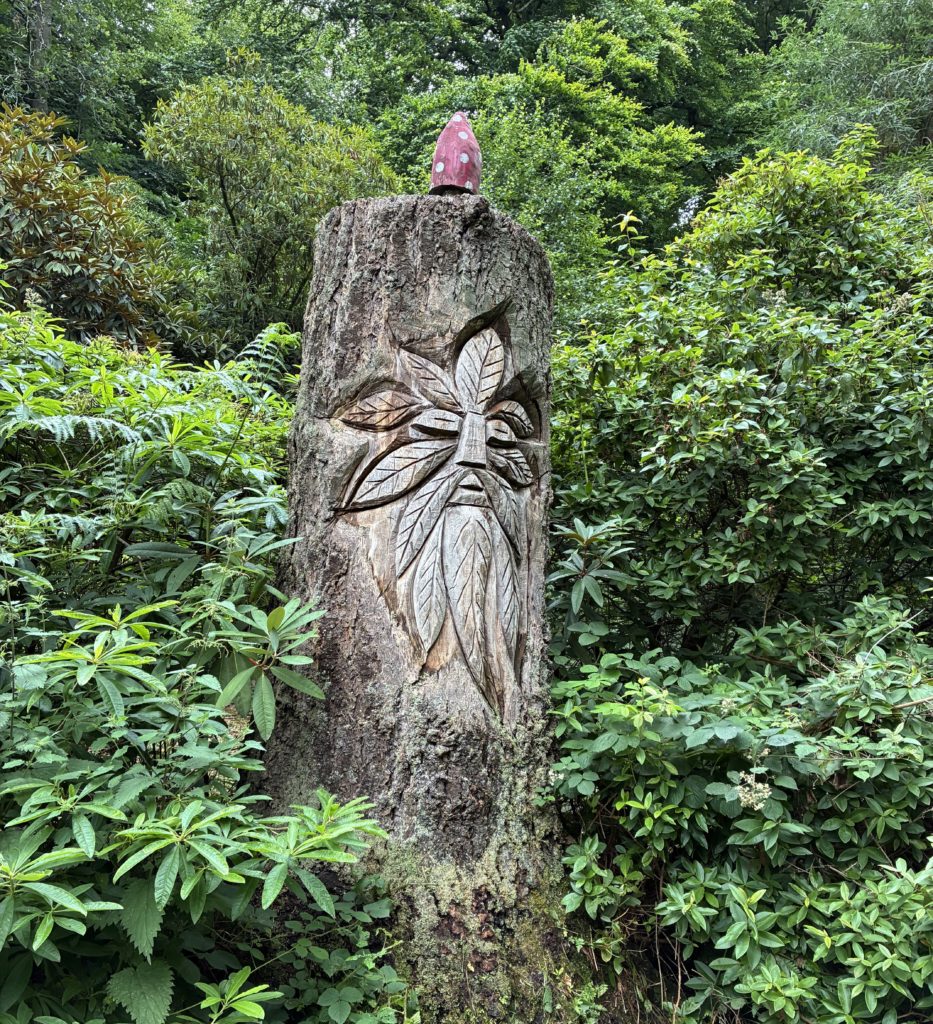
A Green Man carving in one of the fairy trees
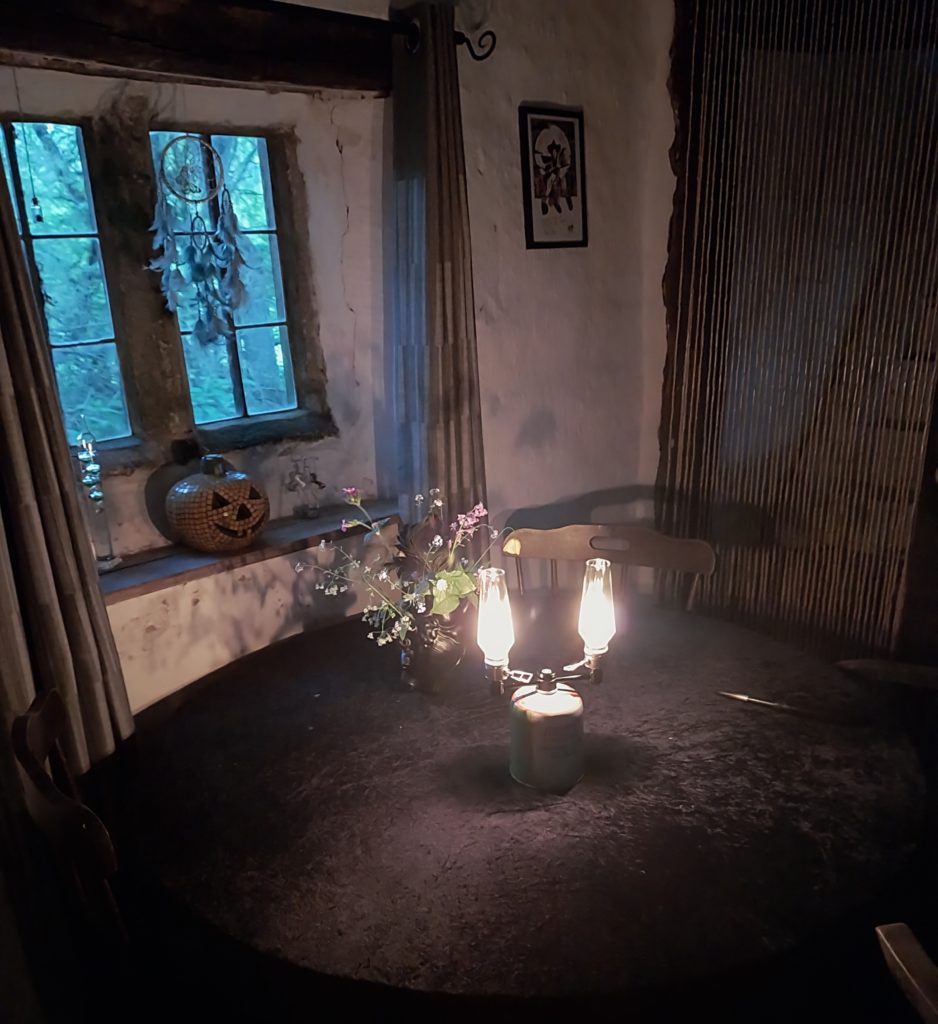
Dad made a lamb stir fry for us all using his new wok, and we ate it around the table in The Wale, listening to the sounds of the rain dripping on the roof. We were very cosy and ended up having a much earlier night, as we were all falling asleep by 10 pm.
Sunday morning was checkout day, so we slept in a little and then made breakfast sandwiches consisting of sausage, bacon, and giant duck eggs. They were delicious. The duck eggs had the largest yolks I’ve ever seen!
Checkout time at the Camping and Caravanning Club sites is 12 pm, so we had plenty of time to digest and then pack up our things.
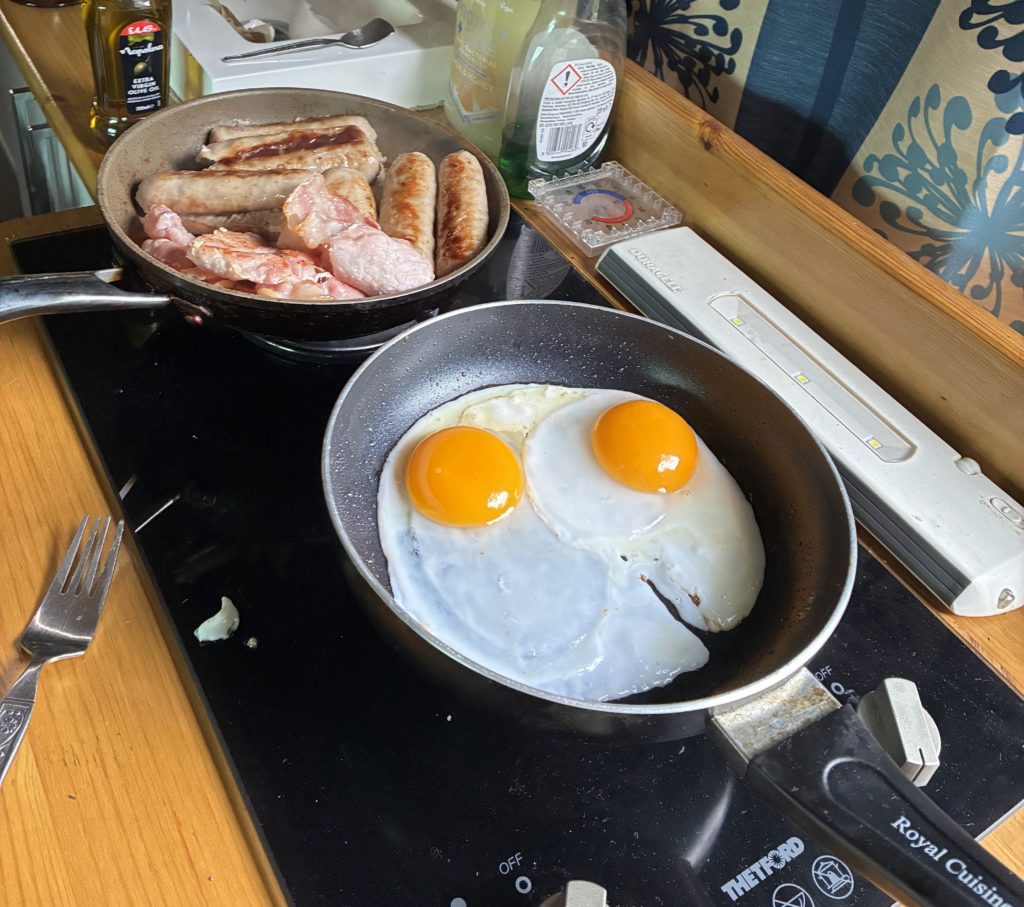
Look at the size of those yolks!!
Just as we were getting ready to leave, my sister remembered that she hadn’t done our birthday ‘cake’, so she called us back into The Whale, where we found a pile of mini Collin the Caterpillar cakes with swirly candles sticking out of them. We declared it brilliant and scoffed a Collin each before saying goodbye.
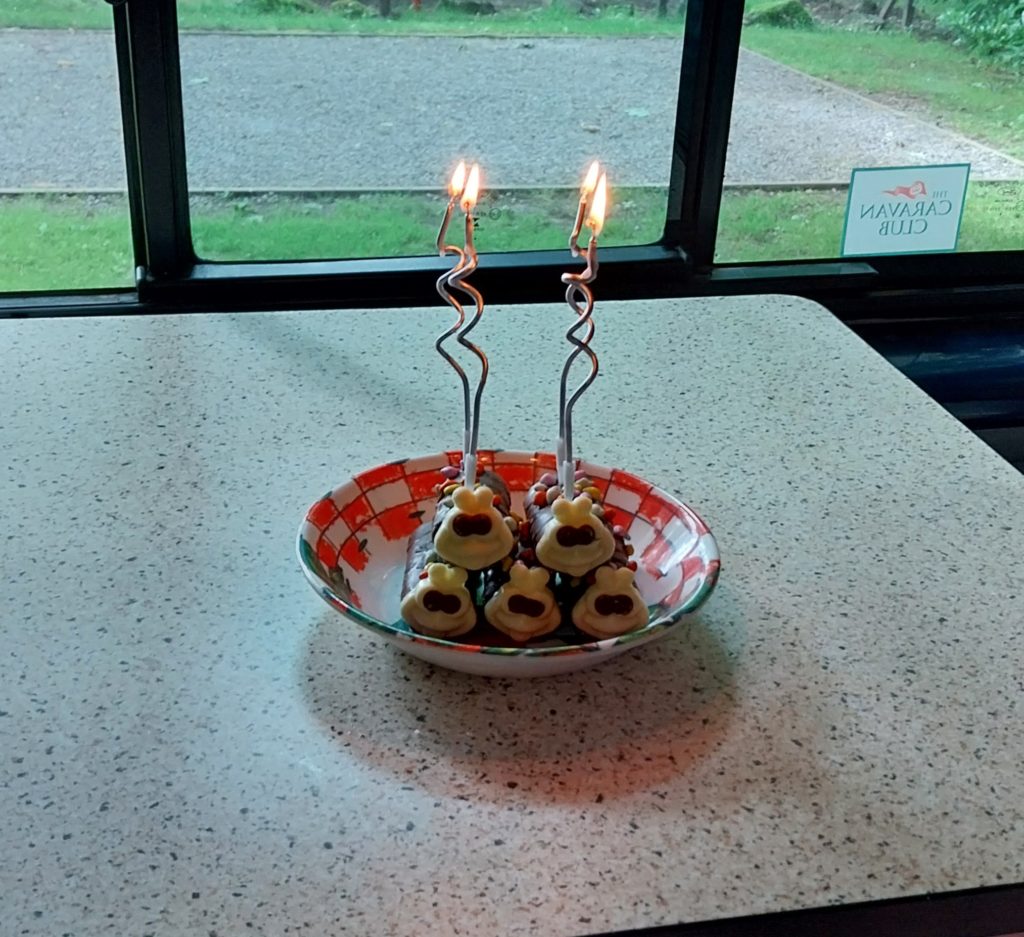
Pile of Collin cake
My dad went further up the country, not keen to return to everyday life just yet. My sister headed back home to Huddersfield to wipe her poo-covered tent, and I headed back to Ripon to clean my poo-covered van.
All in all, it was a great birthday adventure!
Fox
xx