Last weekend, I finally bought the paint for Noah’s new front wing, which was damaged a few weeks ago when the gate blew into it while I was driving through.
I’d already sourced a new wing a few weeks back at the painful price of £119.00. I was initially quoted £90 when I called up to enquire, but when I arrived to pick it up, the price had jumped for some reason.
With few options nearby, I decided to just pay the money for an easy life. It was annoying because the man behind the counter was also rude. I would have preferred to give my money to anyone else but him.
But I really wanted to get started on the fix, and it felt like a lot of effort to source a different panel, so I paid the extra money.
The place I bought it was called Mount Panels over in Leeds, and although they were rude and gave me an initial false quote, the panel is perfectly fine.
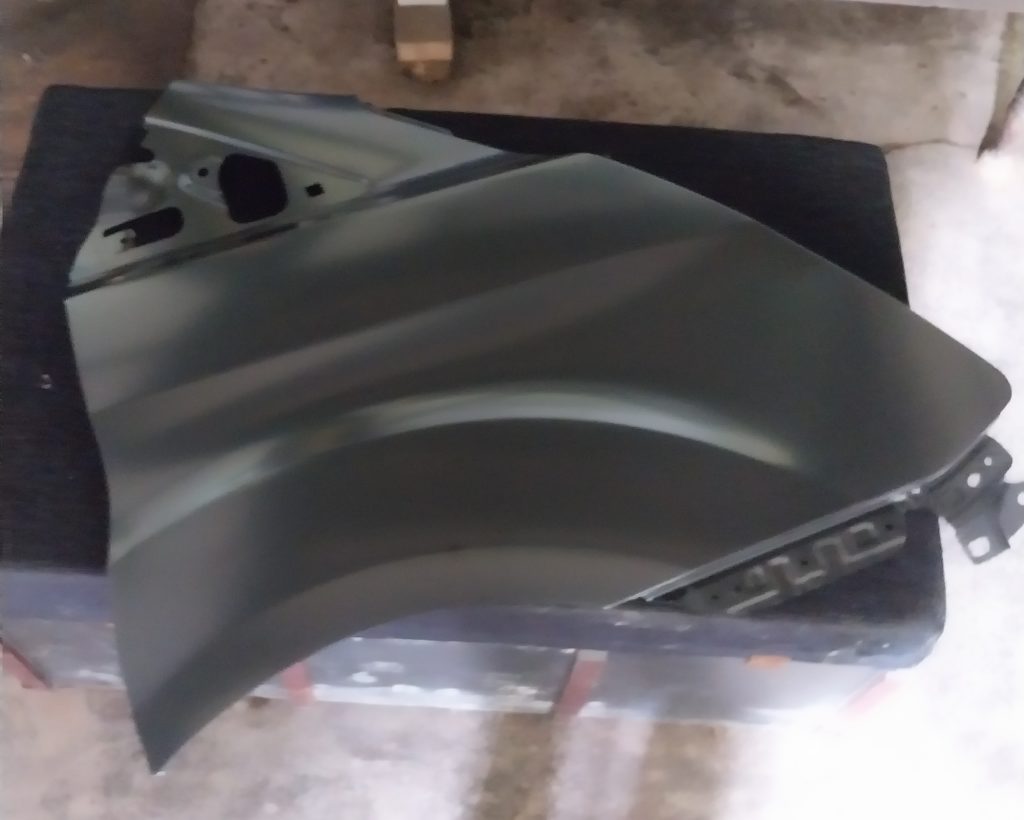
The new panel. Apologies for the poor picture quality. New panels come ready coated in black primer.
I sourced paint from a shop called Soll in Kirkstall. The guy there was really friendly and helpful. He asked for my fuel cap cover so that he could match the paint to my van exactly, and the paint was ready in under an hour.
My dad gave me some lessons in spraying because he’s done this many times before. I can’t afford to spend too much on this, so we’ve had to opt for spray cans over a spray gun.
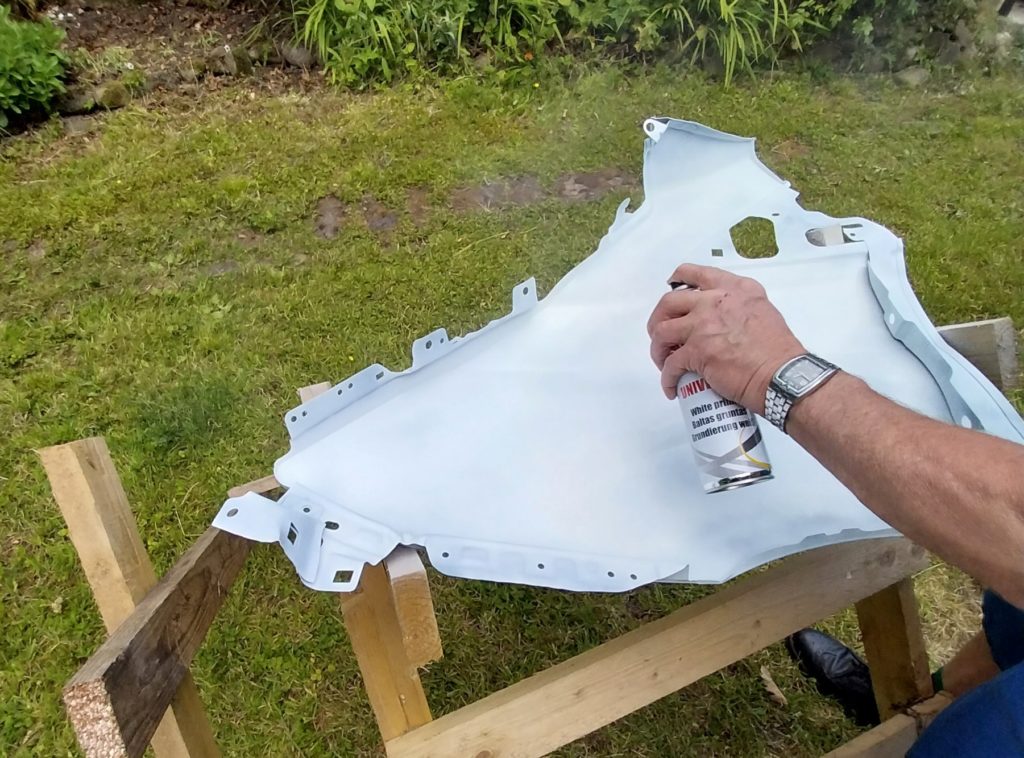
Dad giving me spraying lessons. This is the back of the panel. Apparently if you don’t spray this side too then it’ll rust really quickly.
I went for paint with lacquer included, hoping it would make the job quicker and easier, but it hasn’t worked out as well as I’d hoped. I could have done with one more can of paint, as the finish is not brilliant. I need to sand the whole thing down with fine wet and dry sandpaper, then buy a tin of spray lacquer to go over the top.
Part of the issue was how sunny it was on the day we sprayed the panel. There’s a slight orange peel effect in places, which is apparently where the paint is drying as it comes out of the can. Very annoying, but I knew this wasn’t going to be an easy job, and it’s also a bit of a learning curve, so I expected a couple of issues along the way.
After consulting YouTube, I now have a clear idea of how to fix it, so I’ll pick up some lacquer when I next have time to work on it and have another go.
In the meantime, Dad used a piece of wood and a hammer to beat the dinted panel back into place so that I can at least open the driver door properly. It’s made things easier for now, which is good because I won’t have time to work on the repair this weekend due to the walking adventure and family plans when I return.
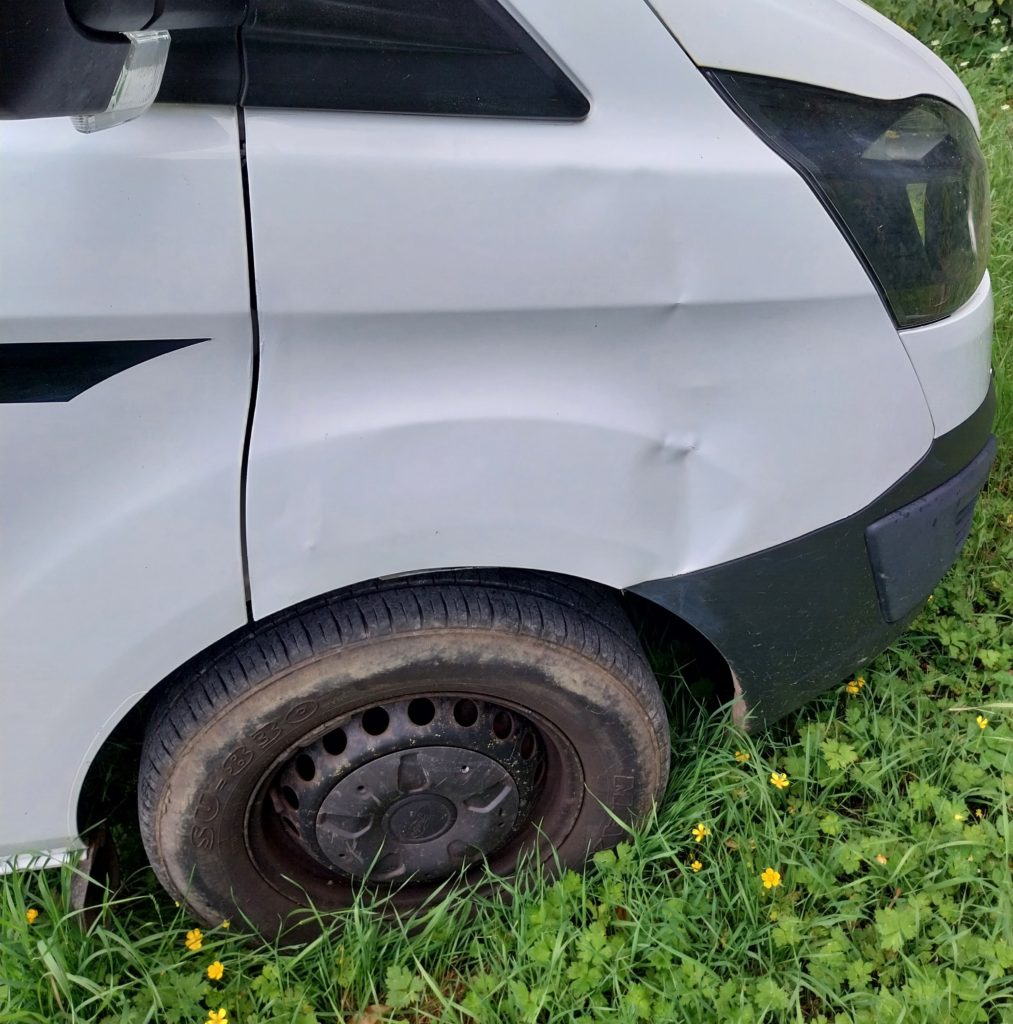
Still looks rubbish, but at least I can open the door now.
In between waiting for the paint layers to dry, I removed the awful blue stripes, which I’ve wanted to get rid of since buying Noah almost a year ago.
I have nothing against stripes per se, but they were not to my taste. They were also not applied very neatly, which meant bits were coming unstuck, and there were places where they hadn’t been trimmed very well, and even some rips which had been stuck back together overlapping. It just looked cheap and nasty.
Noah with his blue stripes
I removed the top stripes a couple of months back. These went along the roof’s edge and down the front of the doors to meet the stripes on the front wings. It took me ages to clean off the sticky residue they left behind, so I’ve been procrastinating over removing the rest of them.
While watching a random van conversion video on YouTube recently, I found a product that made the job much easier. It’s called G&T Glue and Tar Remover by Car-Chem, and it just melts the glue in under a minute. It was still a grim job to wipe off the jellified glue after it had melted, but it was much faster, and I got all of the stripes and glue removed in one afternoon.
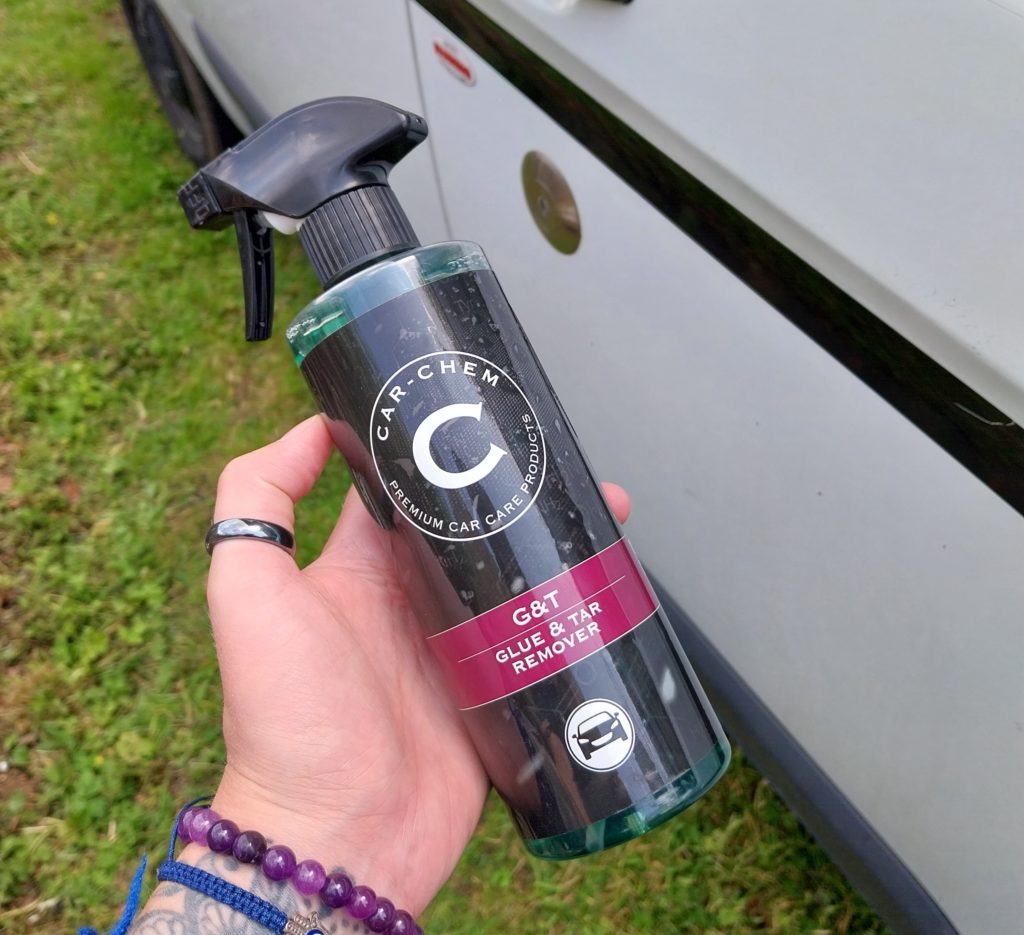
Glue and Tar remover by Car-Chem
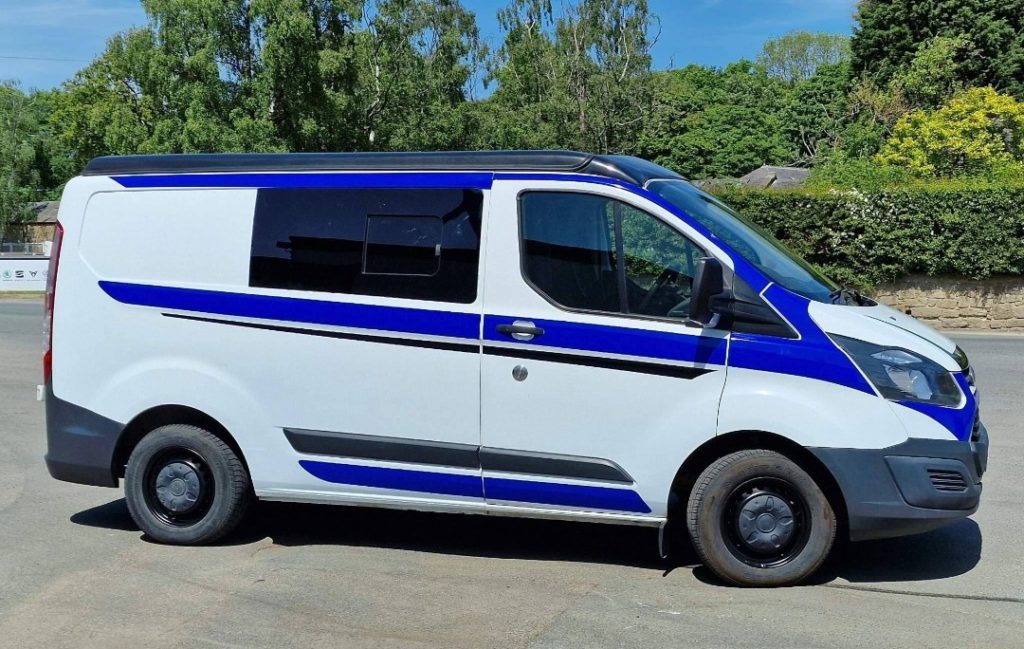
Noah now looks very neat with just his black stripes on either side. I plan to get a couple of nice campervan stickers from Etsy, but first, the whole exterior needs a proper cleanup. There are a few chips in the paint, which I need to learn how to repair. There are also marks on the side panels from where the old business stickers were when Noah was a plumbing van. The paint, in general, just needs brightening and polishing.
I’ll have to consult YouTube again for lessons. What would I do without it?
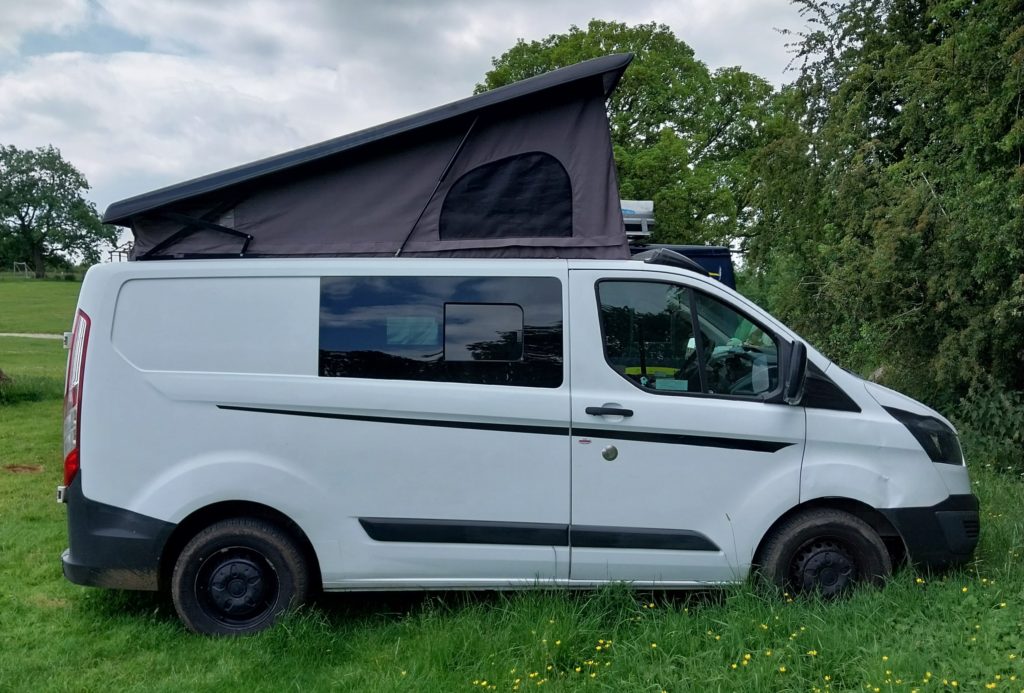
No more blue stripes
I plan to get Noah looking nice and neat inside and out by the end of summer and then post him online for sale in the spring of next year. Spring is the best time to sell a campervan because that’s when everyone starts thinking about camping and enjoying the sun.
Overall, I’m enjoying my home improvements and learning how to fix things rather than paying others to fix them. It’s quite satisfying when a job is finally completed, and Noah is a little more improved.
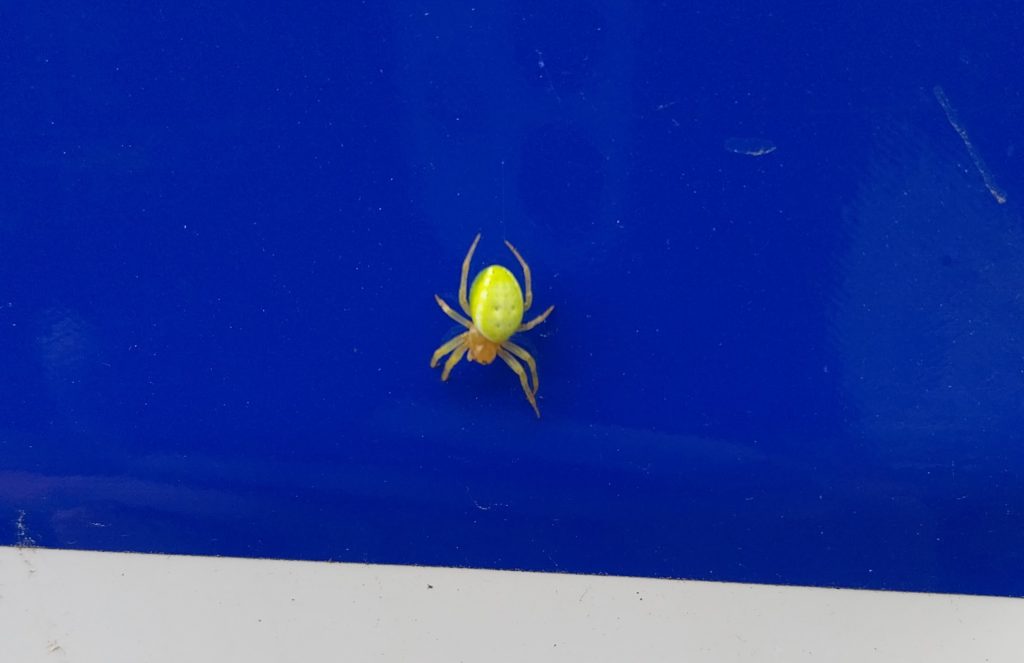
Found this little guy on my van while I was removing the stickers. I’ve never seen a green spider before, but apparently he’s a Cucumber Spider and they’re quite common in the UK.
However, the work will be put on hold for a week or so. I head to Redcar with my sister tonight, where we’ll begin our two-and-a-half-day walk along the coast. We’re very excited to be doing our first camping walk. I think I’ve packed everything I need, but I’m sure I’ll have forgotten something.
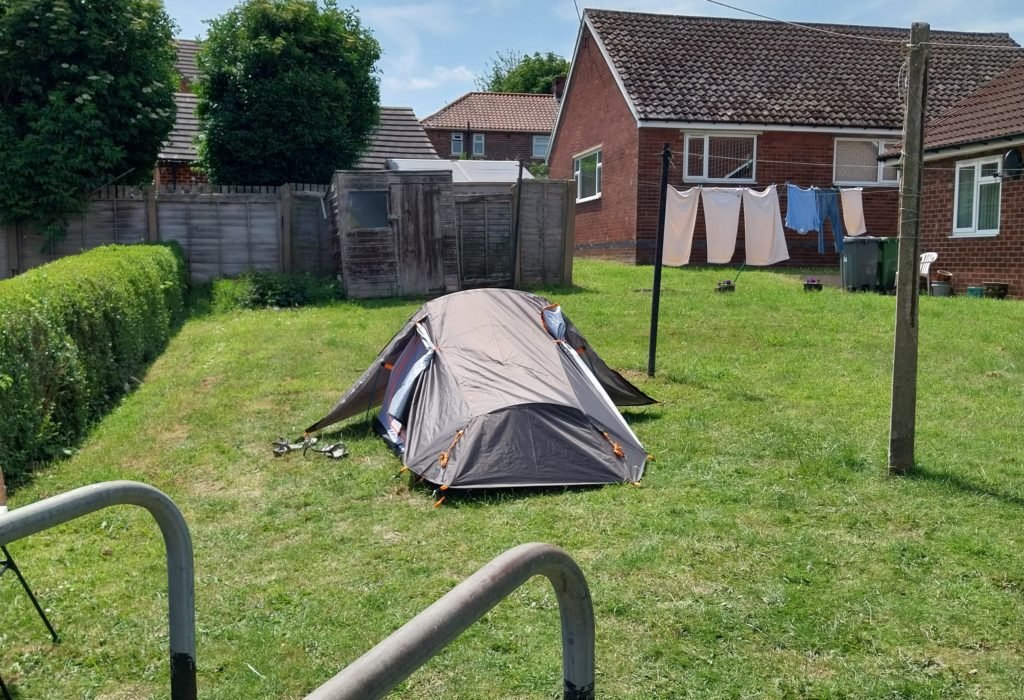
I got a great deal on a hiking tent from Mountain Warehouse. I decided to have a go at putting it up immediately after collecting it. I was at my mum’s house at the time, so it went up in her back garden.
It’s not the most spacious of tents, but it’s very light, which is the most important thing, and it was also easy to put up.
It has doors on both sides, which makes for a great through-wind. This is good, because the temperature inside felt like 100 degrees within two minutes of putting it up…
Mum did all of my washing for me while I was there. She’s such a good egg. Washing is always a pain when living the van life. Usually, I have to go to a laundrette or book into a campsite with washing facilities to get the job done, so the laundrette of mum is very welcome!
We had cups of tea and admired the tent from the patio while my clothes dried.
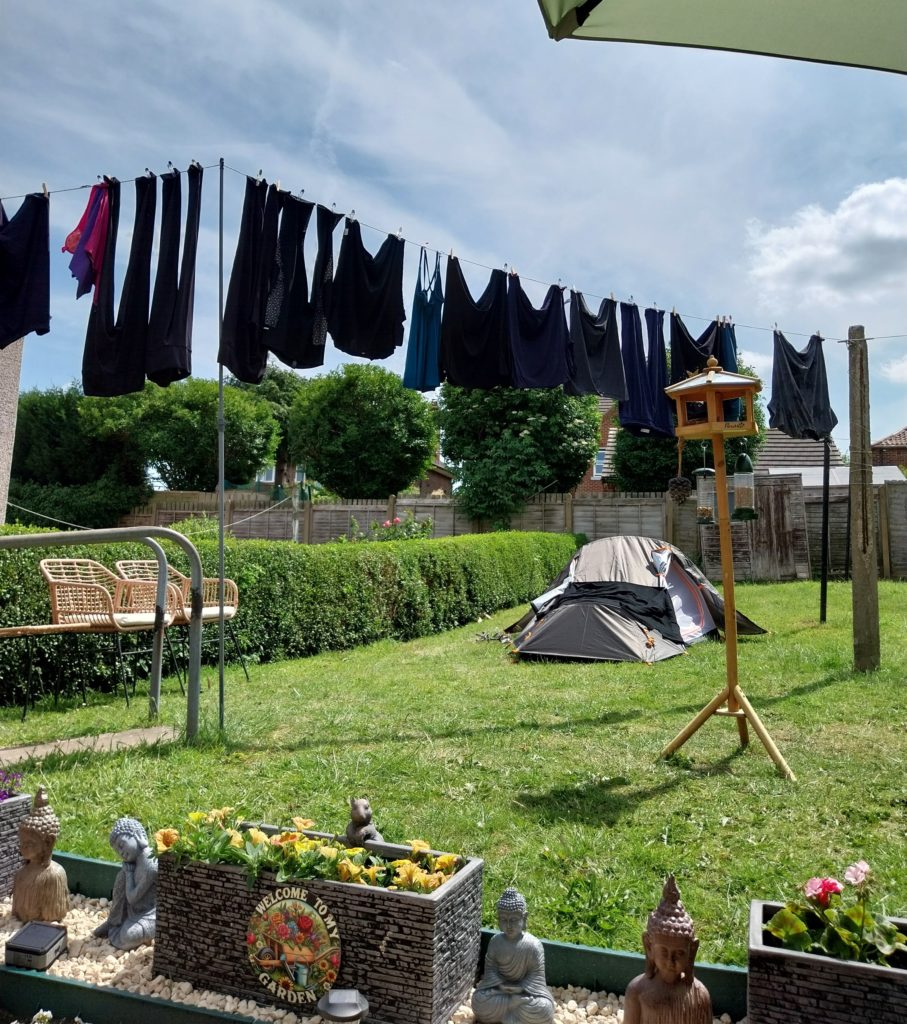
Admiring the tent. Also using the tent as a cardigan dry rack.
My sister also came over, and we decided to tackle the issue of the security tag on my walking rucksack.
I bought it from Go Outdoors a couple of months back and then realised they hadn’t removed the security tag before I left the store. I don’t remember the alarm going off, but I was concerned that it would set off other alarms if I went in and out of stores while on the walk. Also, I didn’t want people to see the tag and think I’d stolen my walking bag.
At this point, I had no idea where the receipt was, and I didn’t fancy trying to convince the checkout assistant that I hadn’t stolen the bag, so I again turned to my good friend YouTube for advice.
We were assured that the tags are easy to remove with just a couple of forks and some light pressure. We also needed to cover the whole thing in a plastic bag because the tag contained dye capsules designed to explode if the tag is tampered with.
I’d imagined masses of dye exploding into my eyes as I tried to prise the thing off, but then I watched a video of one exploding and realised it was only a tiny bit of dye and would probably not blind me.
Two forks, a garden fork, a hammer, and two screwdrivers later, we finally succeeded in removing the tag. Without breaking the dye capsules, which was a nice achievement.
I would not recommend this method, though. It was a lot of faff. It’s definitely better to check your items for security tags before leaving the store!
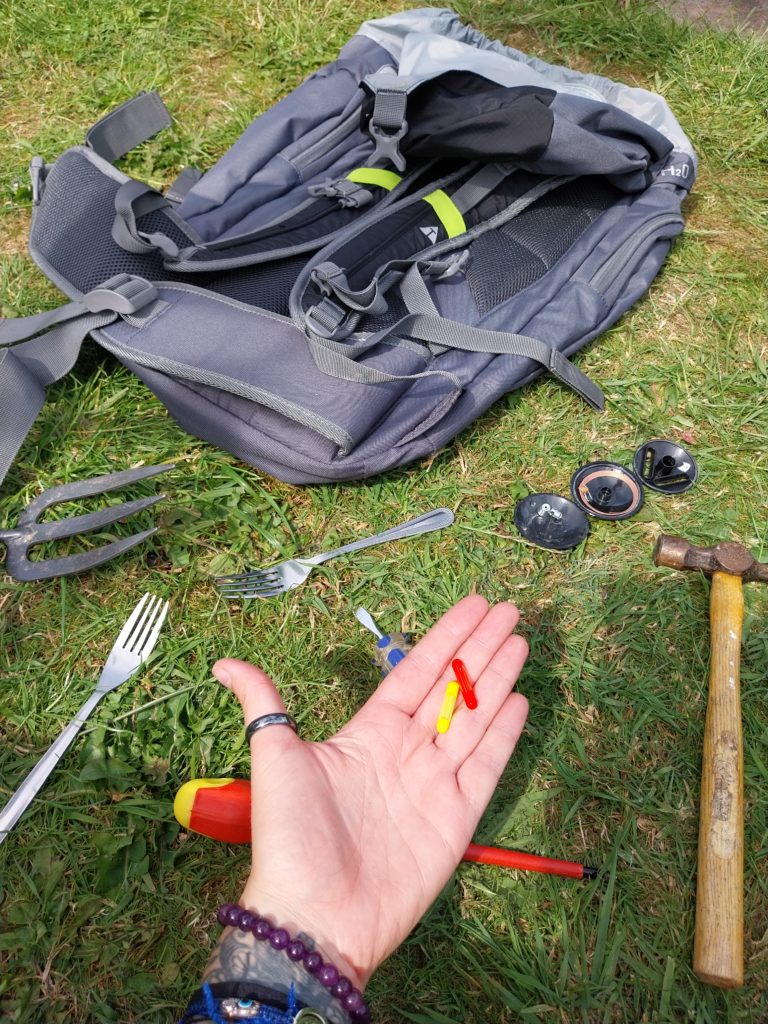
The little dye capsules look really cool. I didn’t want to throw them away, but also had no idea what I’d do with them if I kept them.
My bag feels quite heavy now that it’s packed, and my back is about to have a rude awakening. The last time I carried a pack like this was when I went on a month-long trip to Hawaii. That was back in 2018, and I’m nowhere near as fit as I was then. The pack is a bit lighter than that one was, though, and I’ve been doing a lot more walking this year to build the strength in my injured leg, so hopefully, I’ll manage okay.
My walking boots are rubbing on one of my ankle scars, so I’ve packed my trainers just in case it gets bad.
I’m looking forward to the trip and will be recording the route on the All Trails app, so I’ll share the map next week.
Wish me luck!
Fox
xx